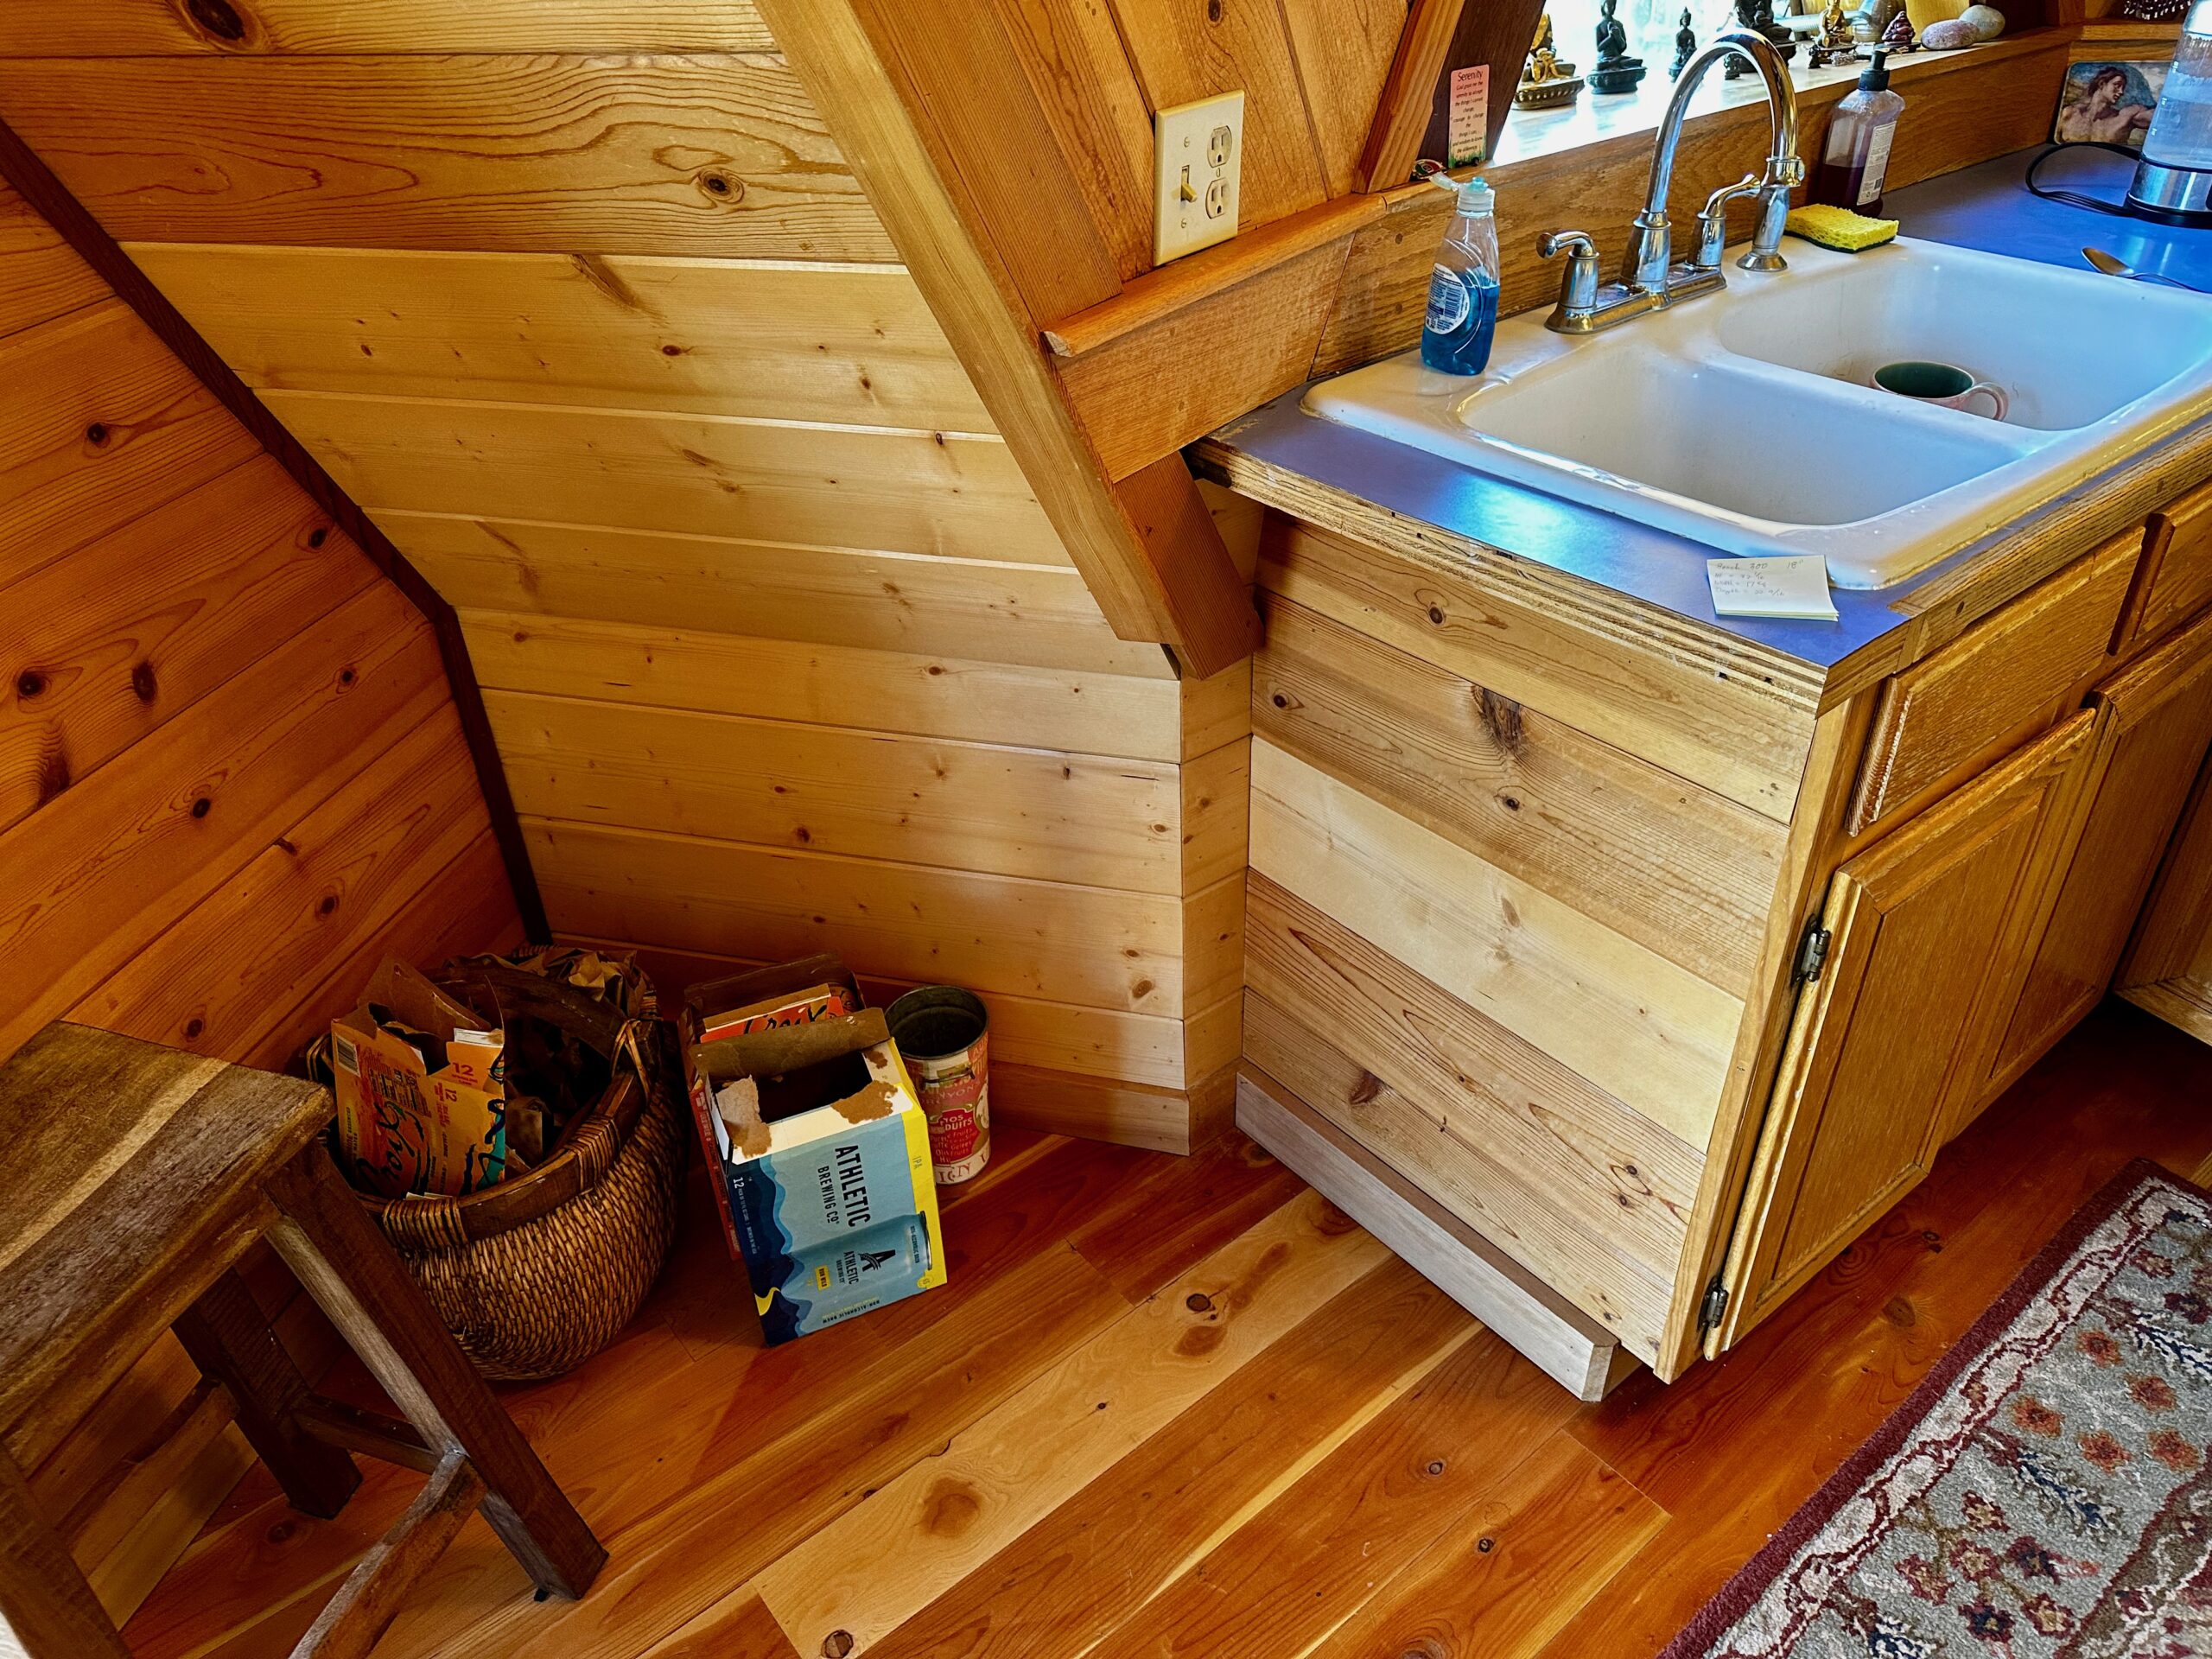
Our neighbors were planning to add a dishwasher to their existing dishwasher-less kitchen and asked me if I would be willing to help. They wanted me to design & build a cabinet to house the new appliance. Simple enough, right? The kitchen exists in part of the house that is of a geodesic dome design, so that means lots of angles and the picture below shows the exisiting space. These room angles do not pose a problem for the cabinet build but certianly add a level of complexity for the homeowners in terms of final installation.
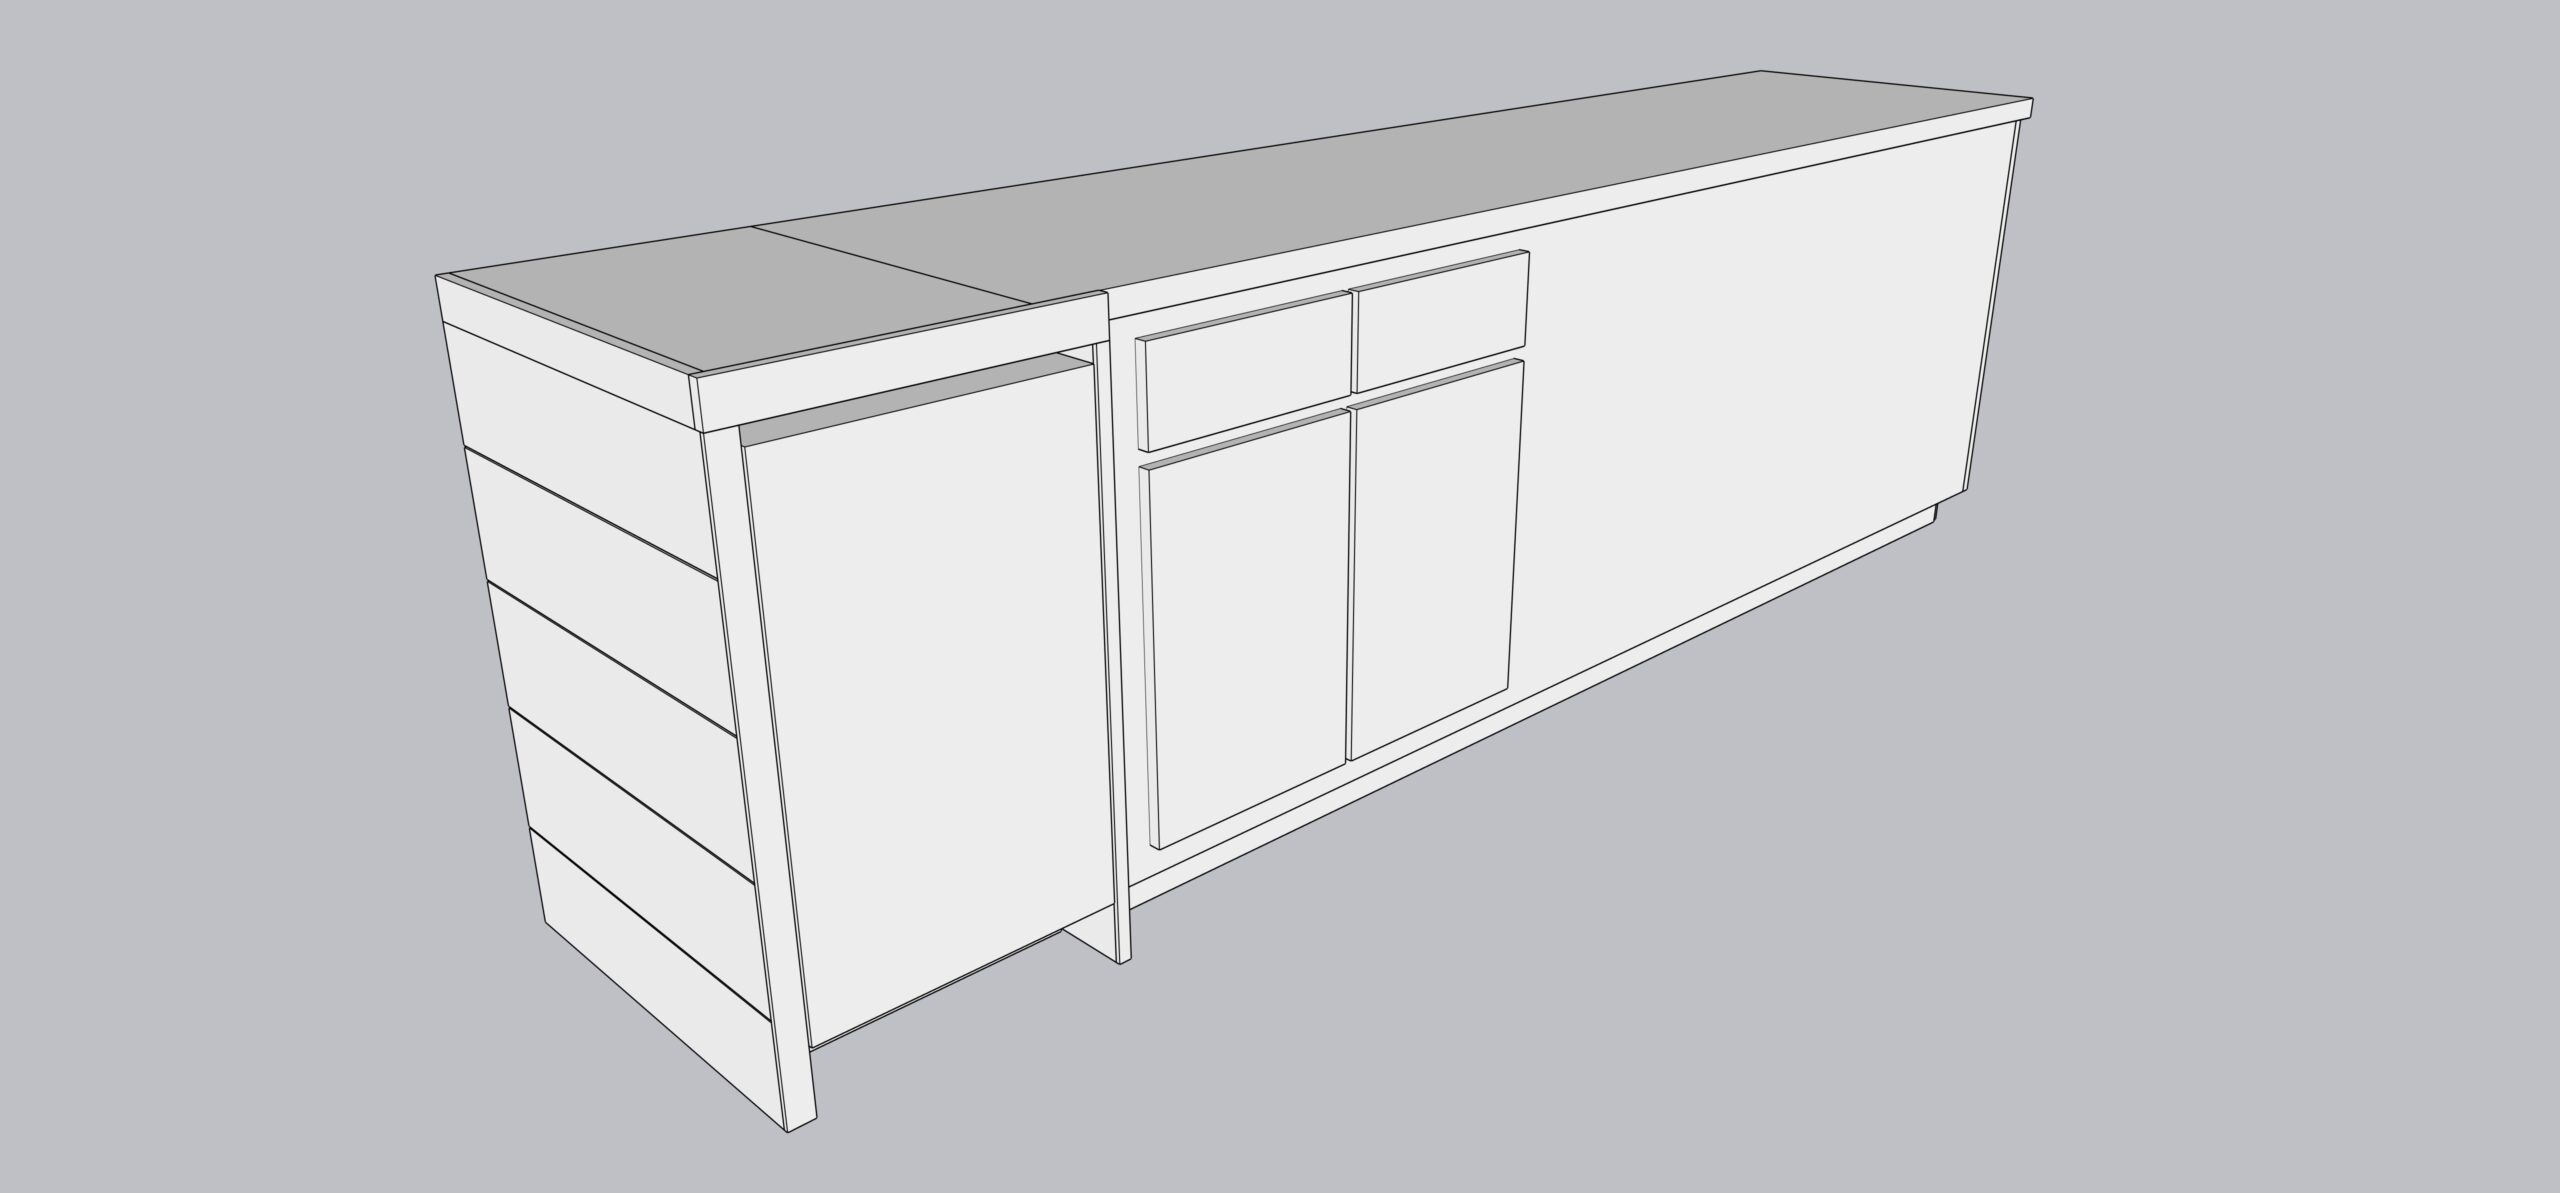
In order to be successful with this project I needed to use Sketch-Up to model the project digitally for determination of the exact cabinet measurements. We talked about design options and quickly agreed on some sort of cutting-board-like top with horizontal tongue-& groove siding for the one exposed side. This design accomplishes 3 things in that it: houses the dishwasher; blends in with the existing kitchen design; and will have a nice detail with the large wooden top that highlights the red oak’s ray-fleck properties. Next was the measurement process. This had to be fairly exact as this is the starting point in Sketch-Up, i.e., to make a drawing with exact measurments of the adjoining cabinetry. These measurements plus the space requirements from the dishwasher manufacturer allowed for the cabinet measurements to become self-evident (through Sketch-Up of course).
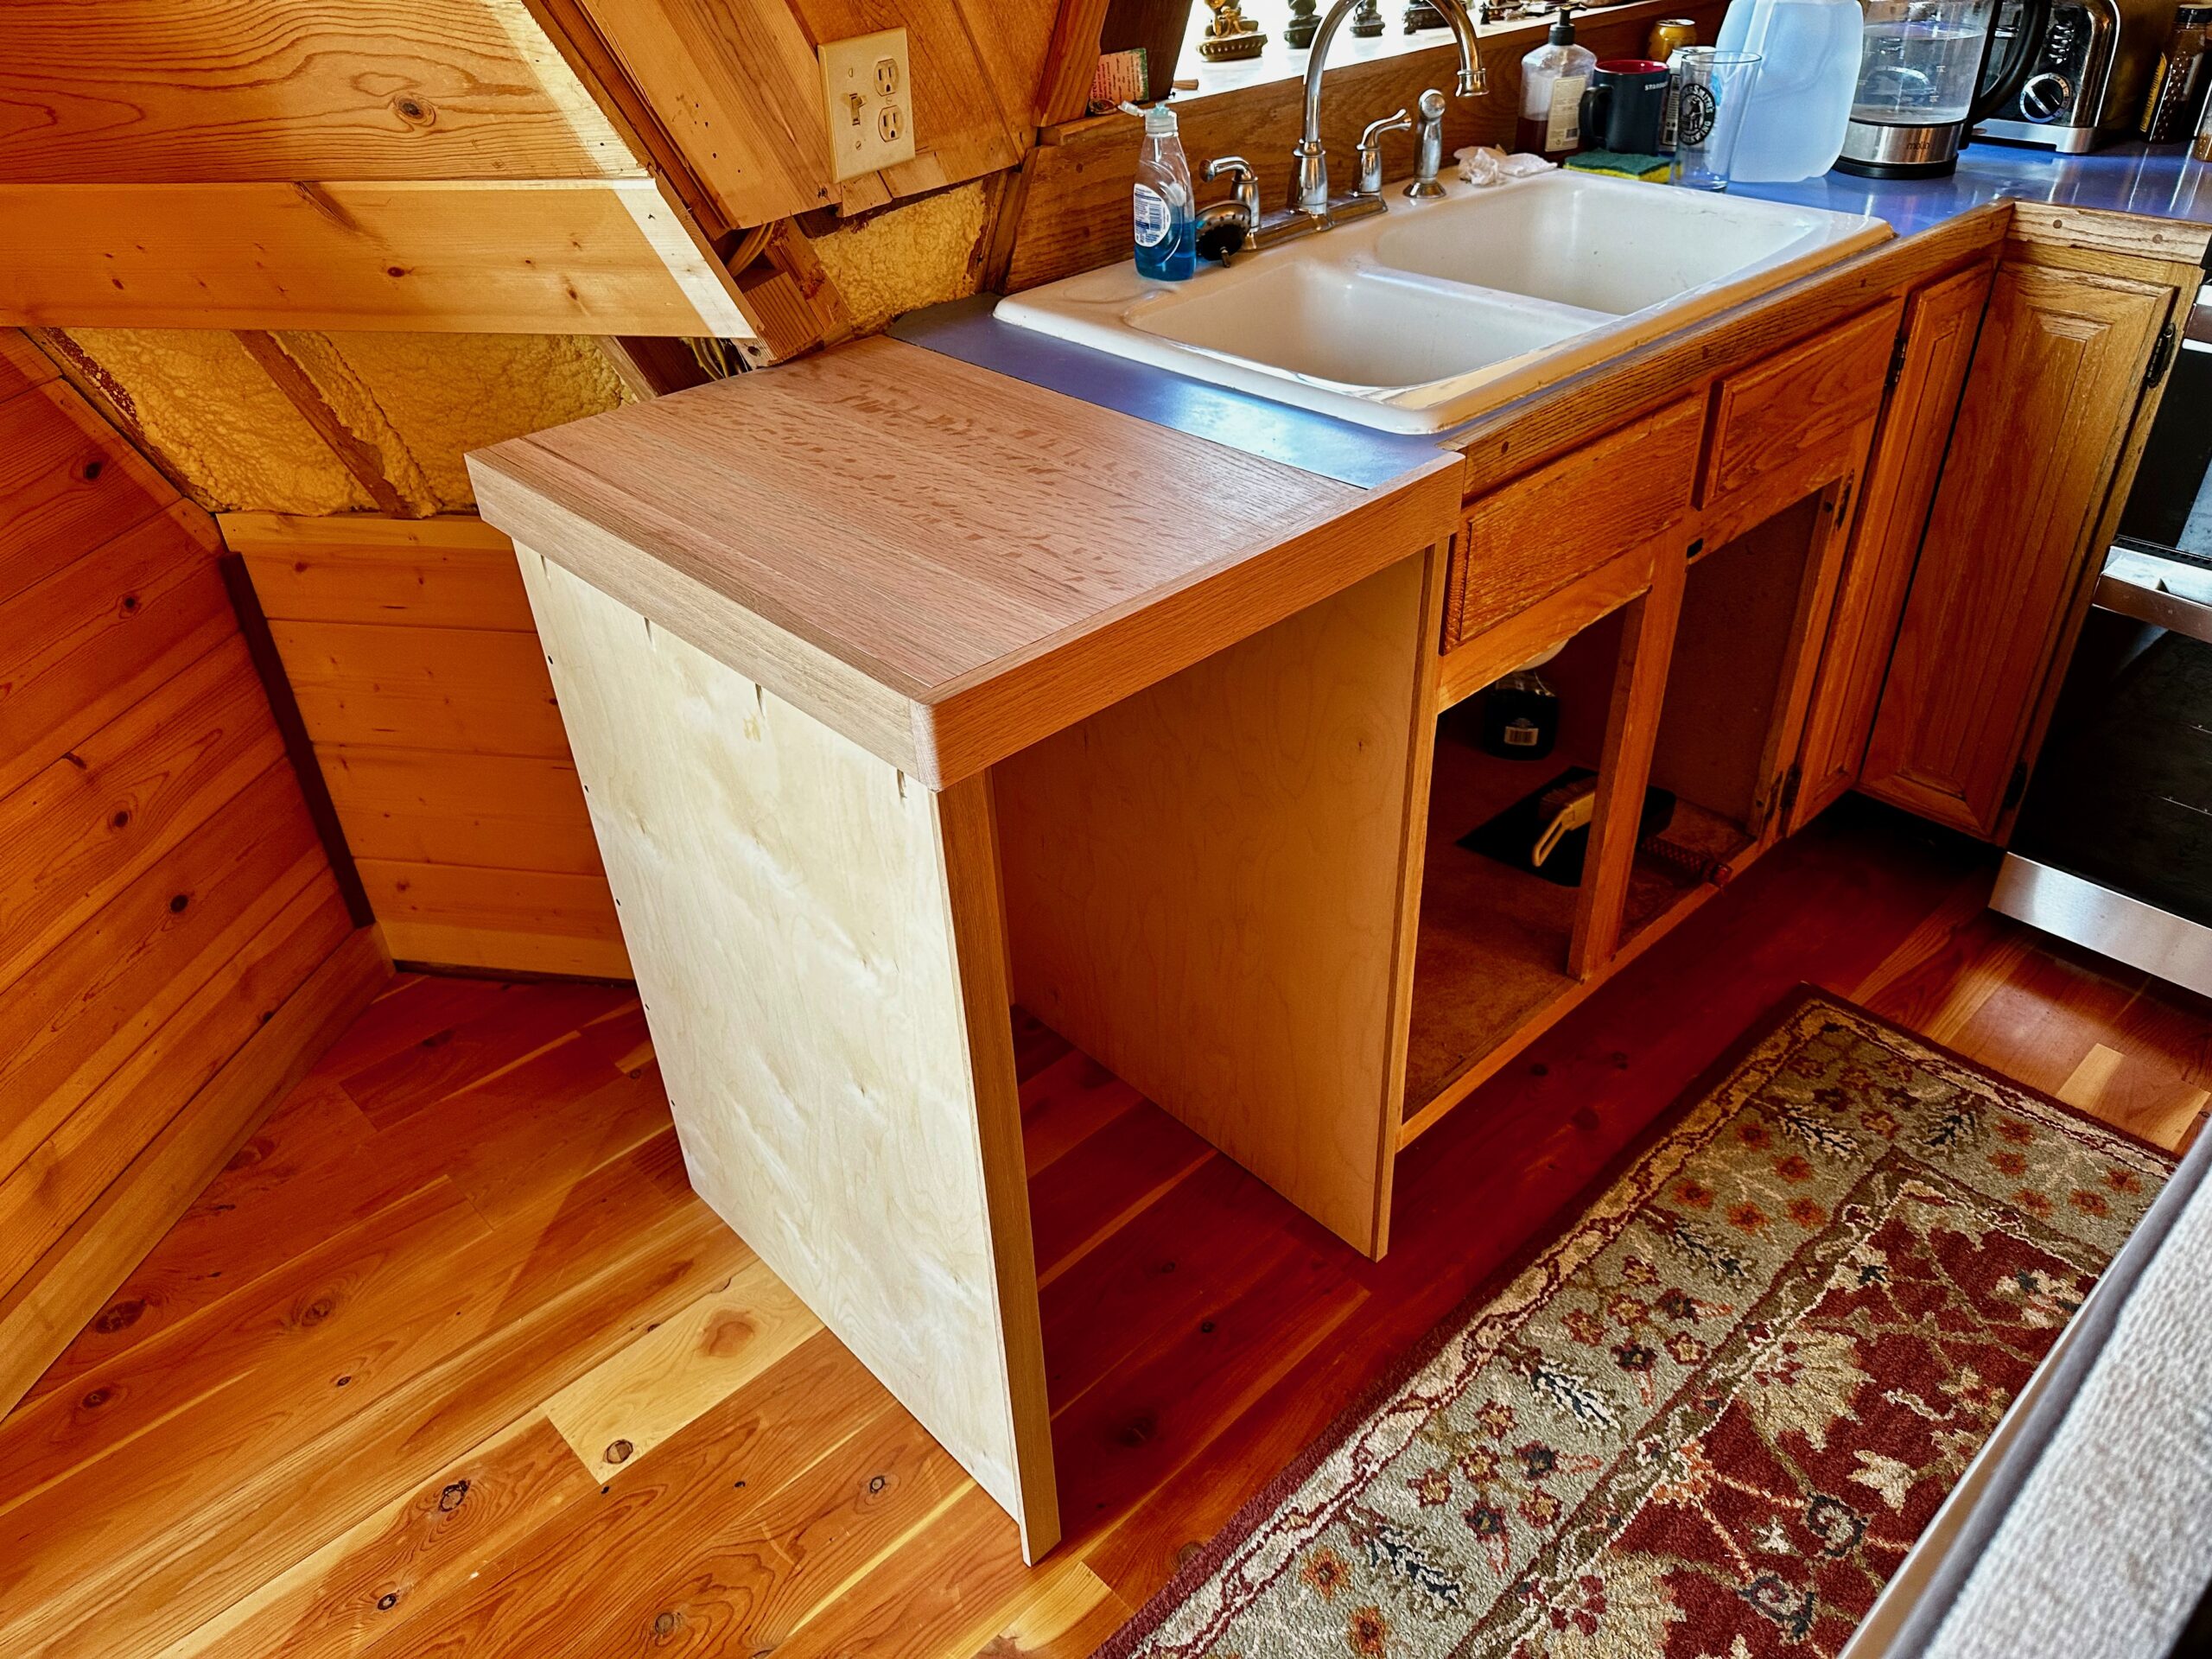
 The cabinet is made with Baltic Birch plywood using a mix of joinery: rabbets and pocket-holes, all screwed in place (no glue) in order to facilitate fitting the piece in its final location (see pictures below). The wooden top and plywood edging is red oak to match the existing trim. Care was taken in the selection of lumber for the cutting board top in order to result in a pleasing grain pattern. The top wooden block is quite substantial at approx 24″ x 16″ x 1 1/2″ that weighs over 20 lbs.

When the rough case was assembled I took it over to their house for the first measurement check. The fit was almost perfect with a need to shave 1/8″ from the overall height (due to floor variations). The top-front trim piece was really the crux of the project in terms of precise sizing; visually this trim piece is front & center so any ill-fit would detract from the entire piece. Sketch-Up measurements were dead-on accurate.
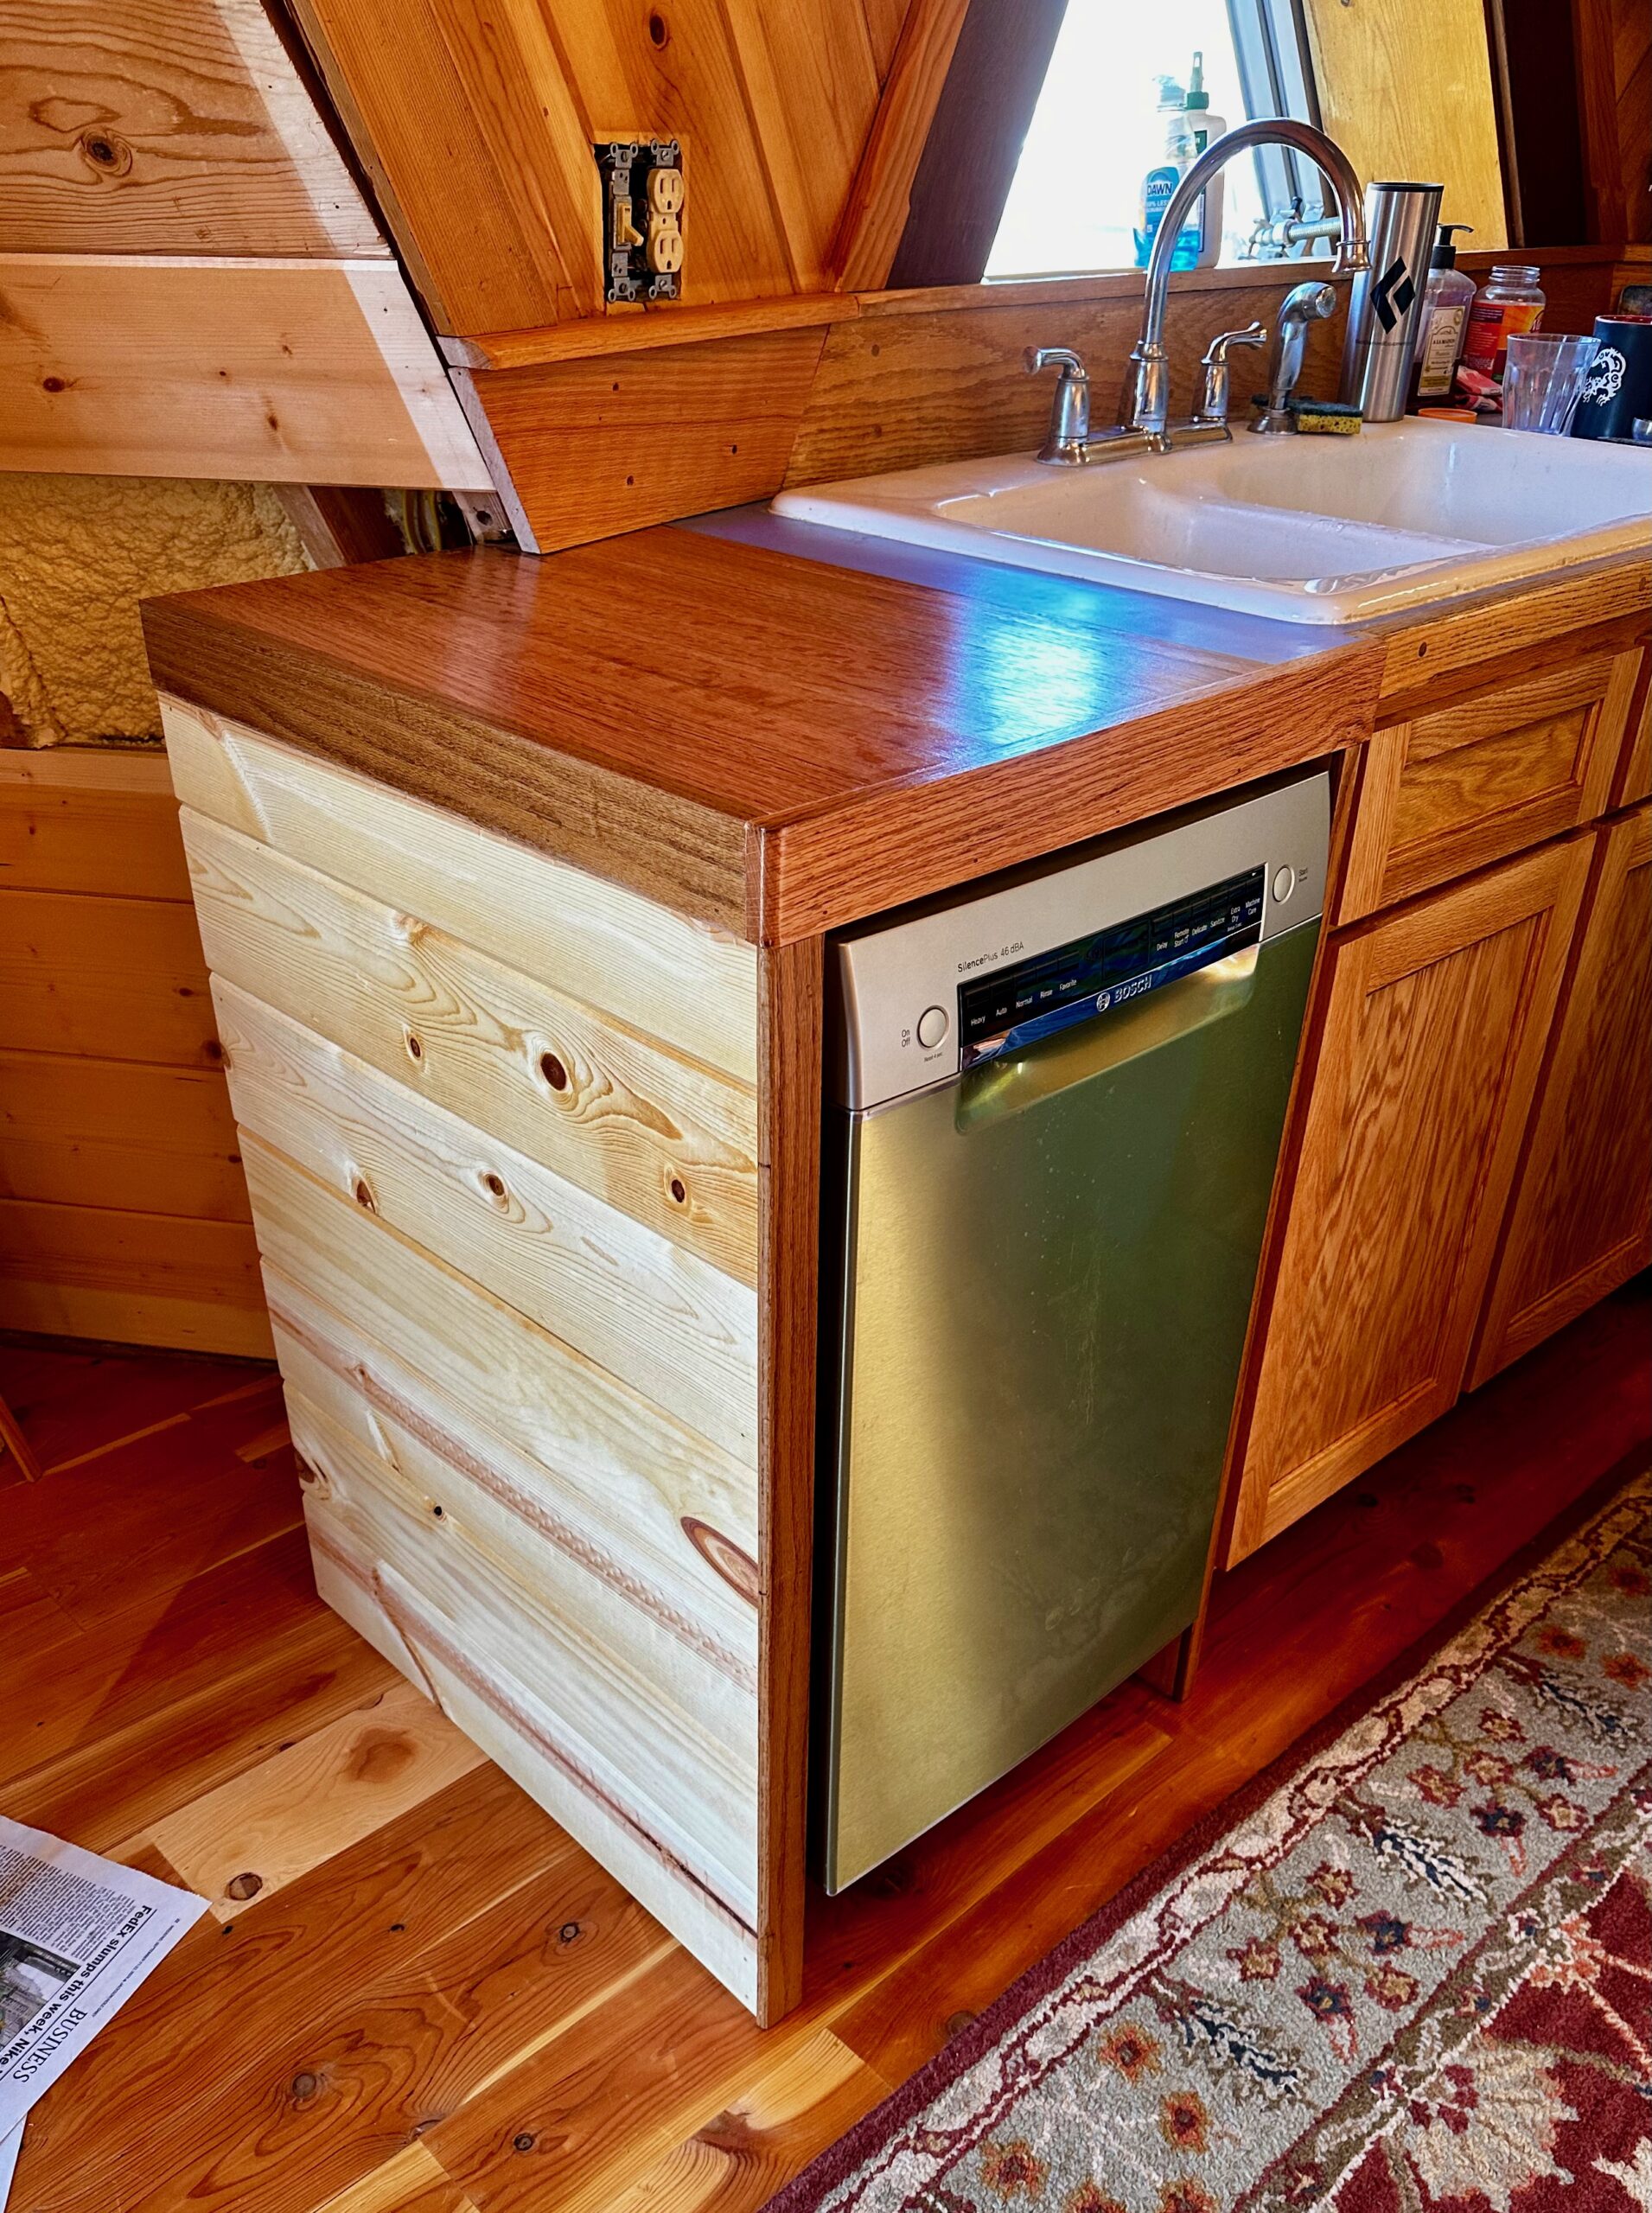
Our neighbors are very happy with the final result. They performed the final installation details, e.g., removing & replacing the kitchen trim pieces, attaching the tongue & groove pine siding, finishing, etc. (not yet completed at the time this picture was taken). Overall this was a satisfying project not only in being able to help our neighbors, but also in the quantitative use of the Sketch-Up modeling software.