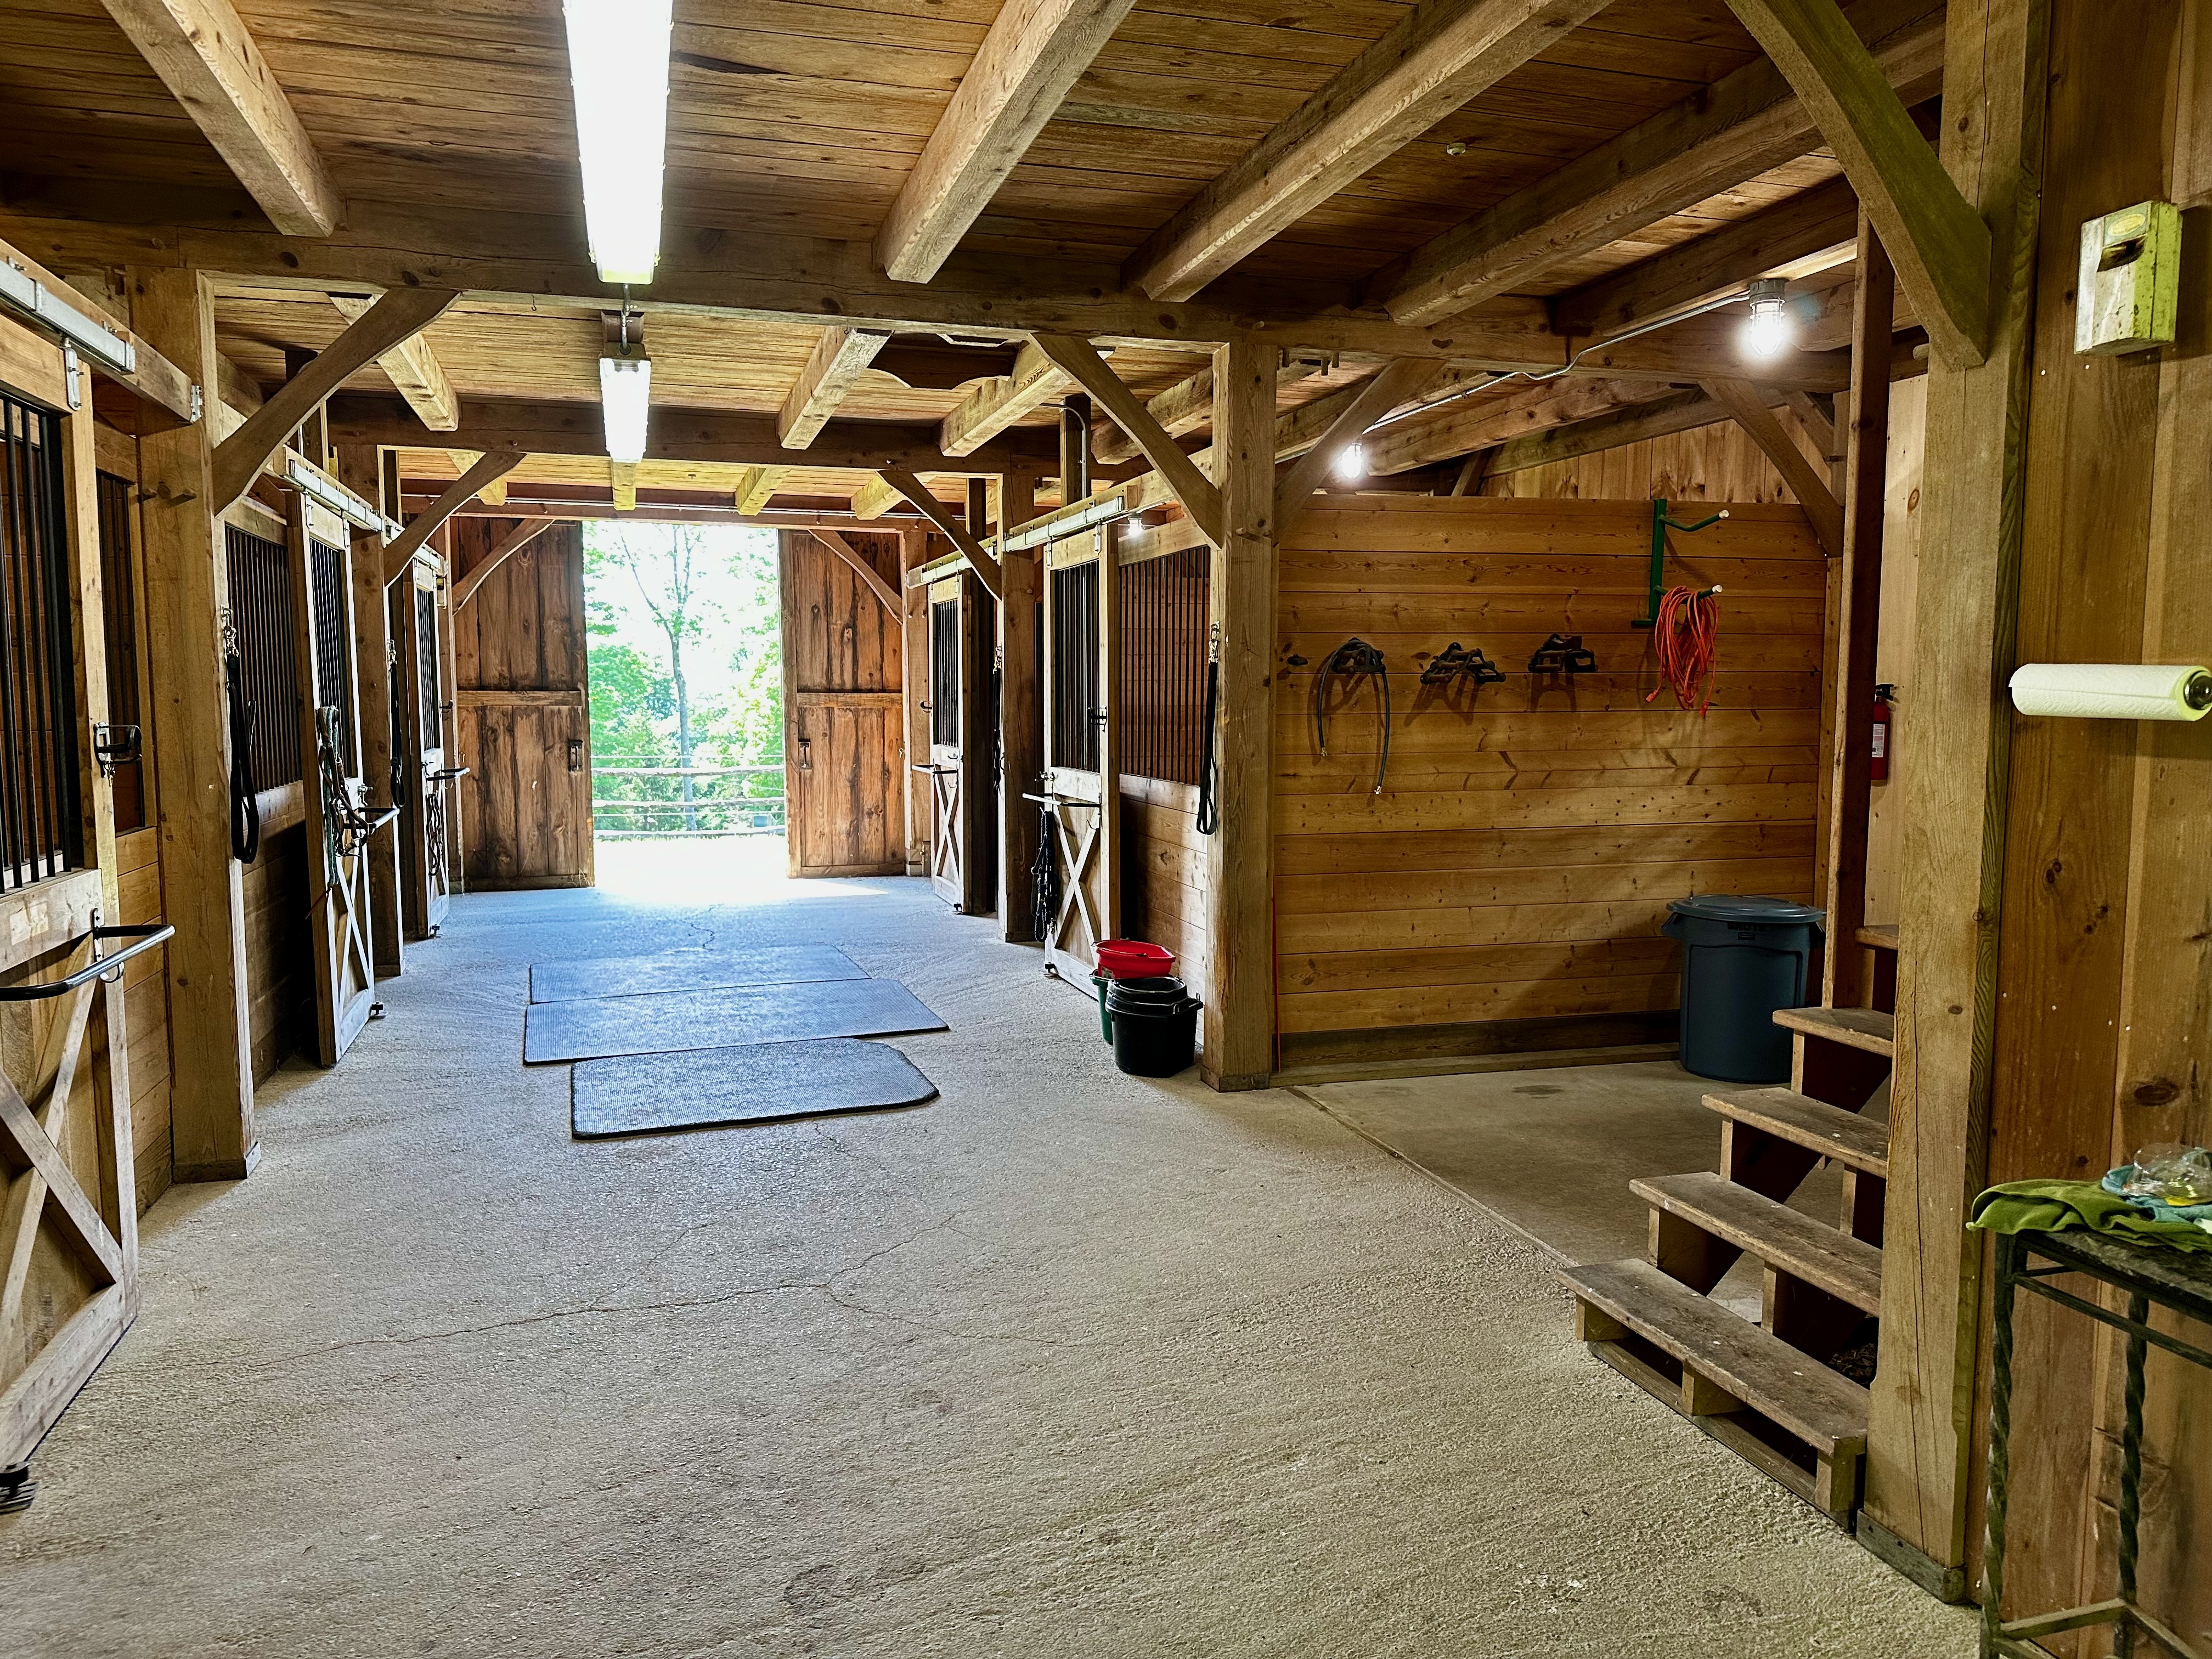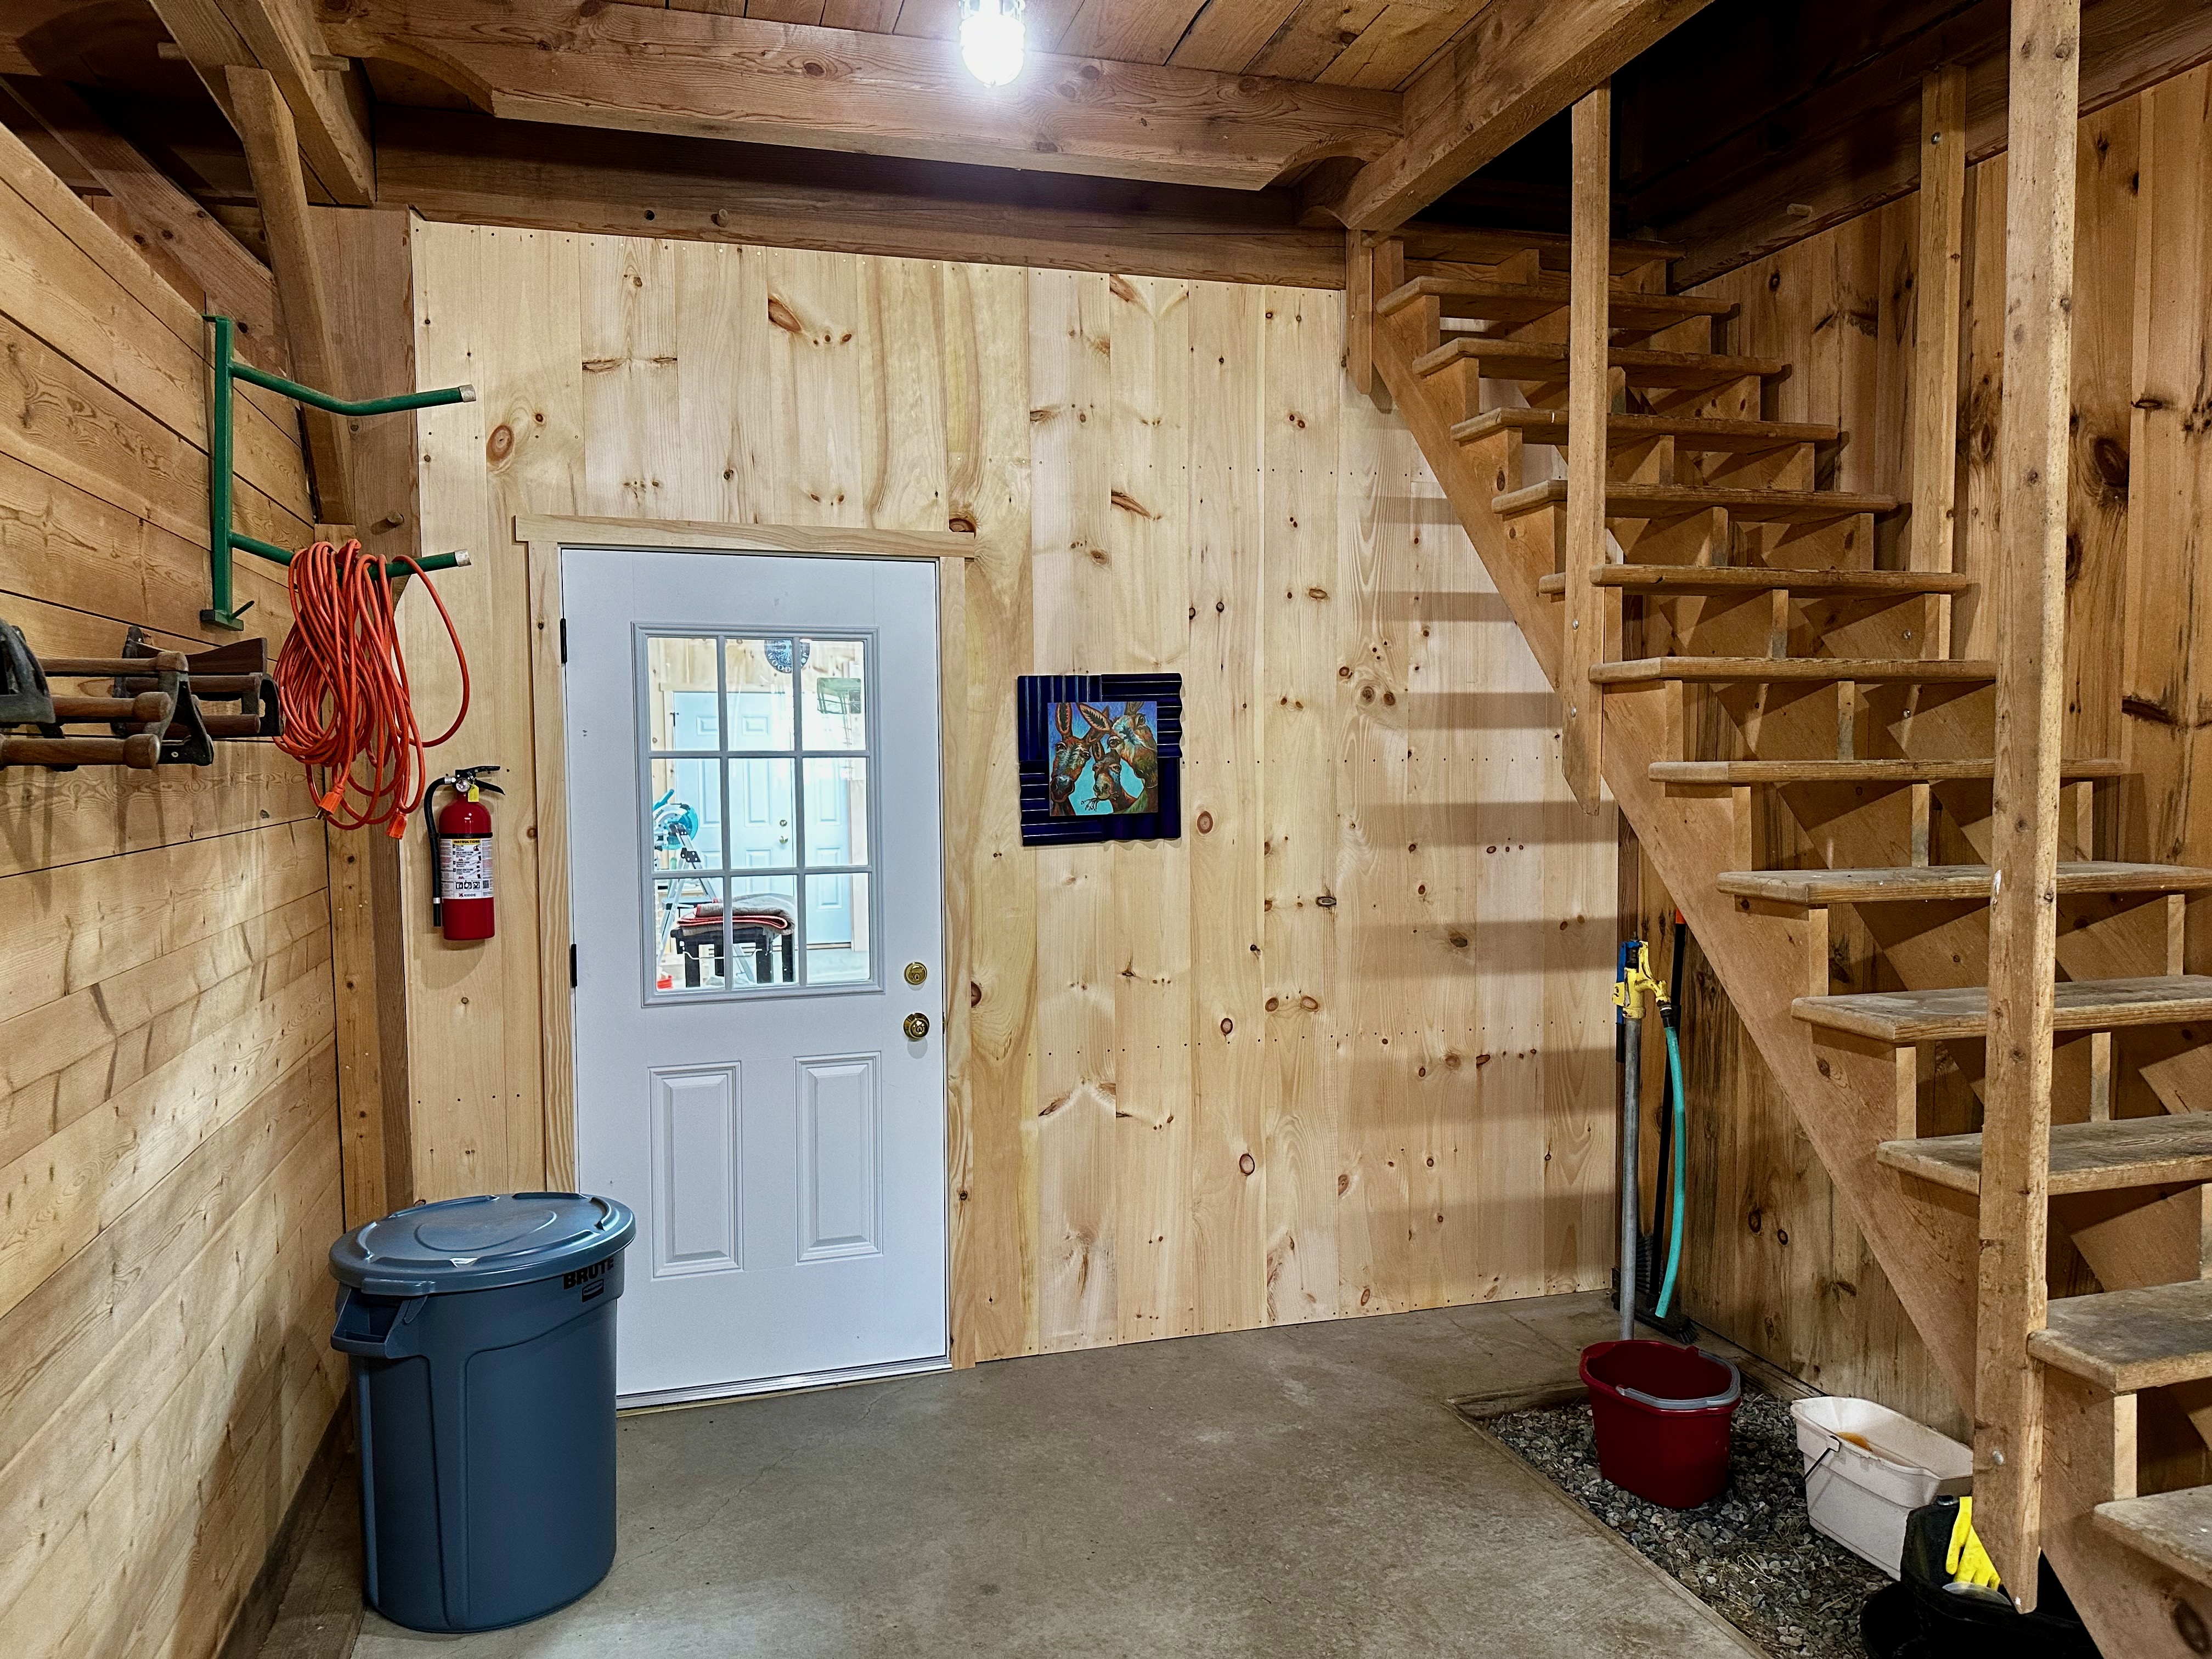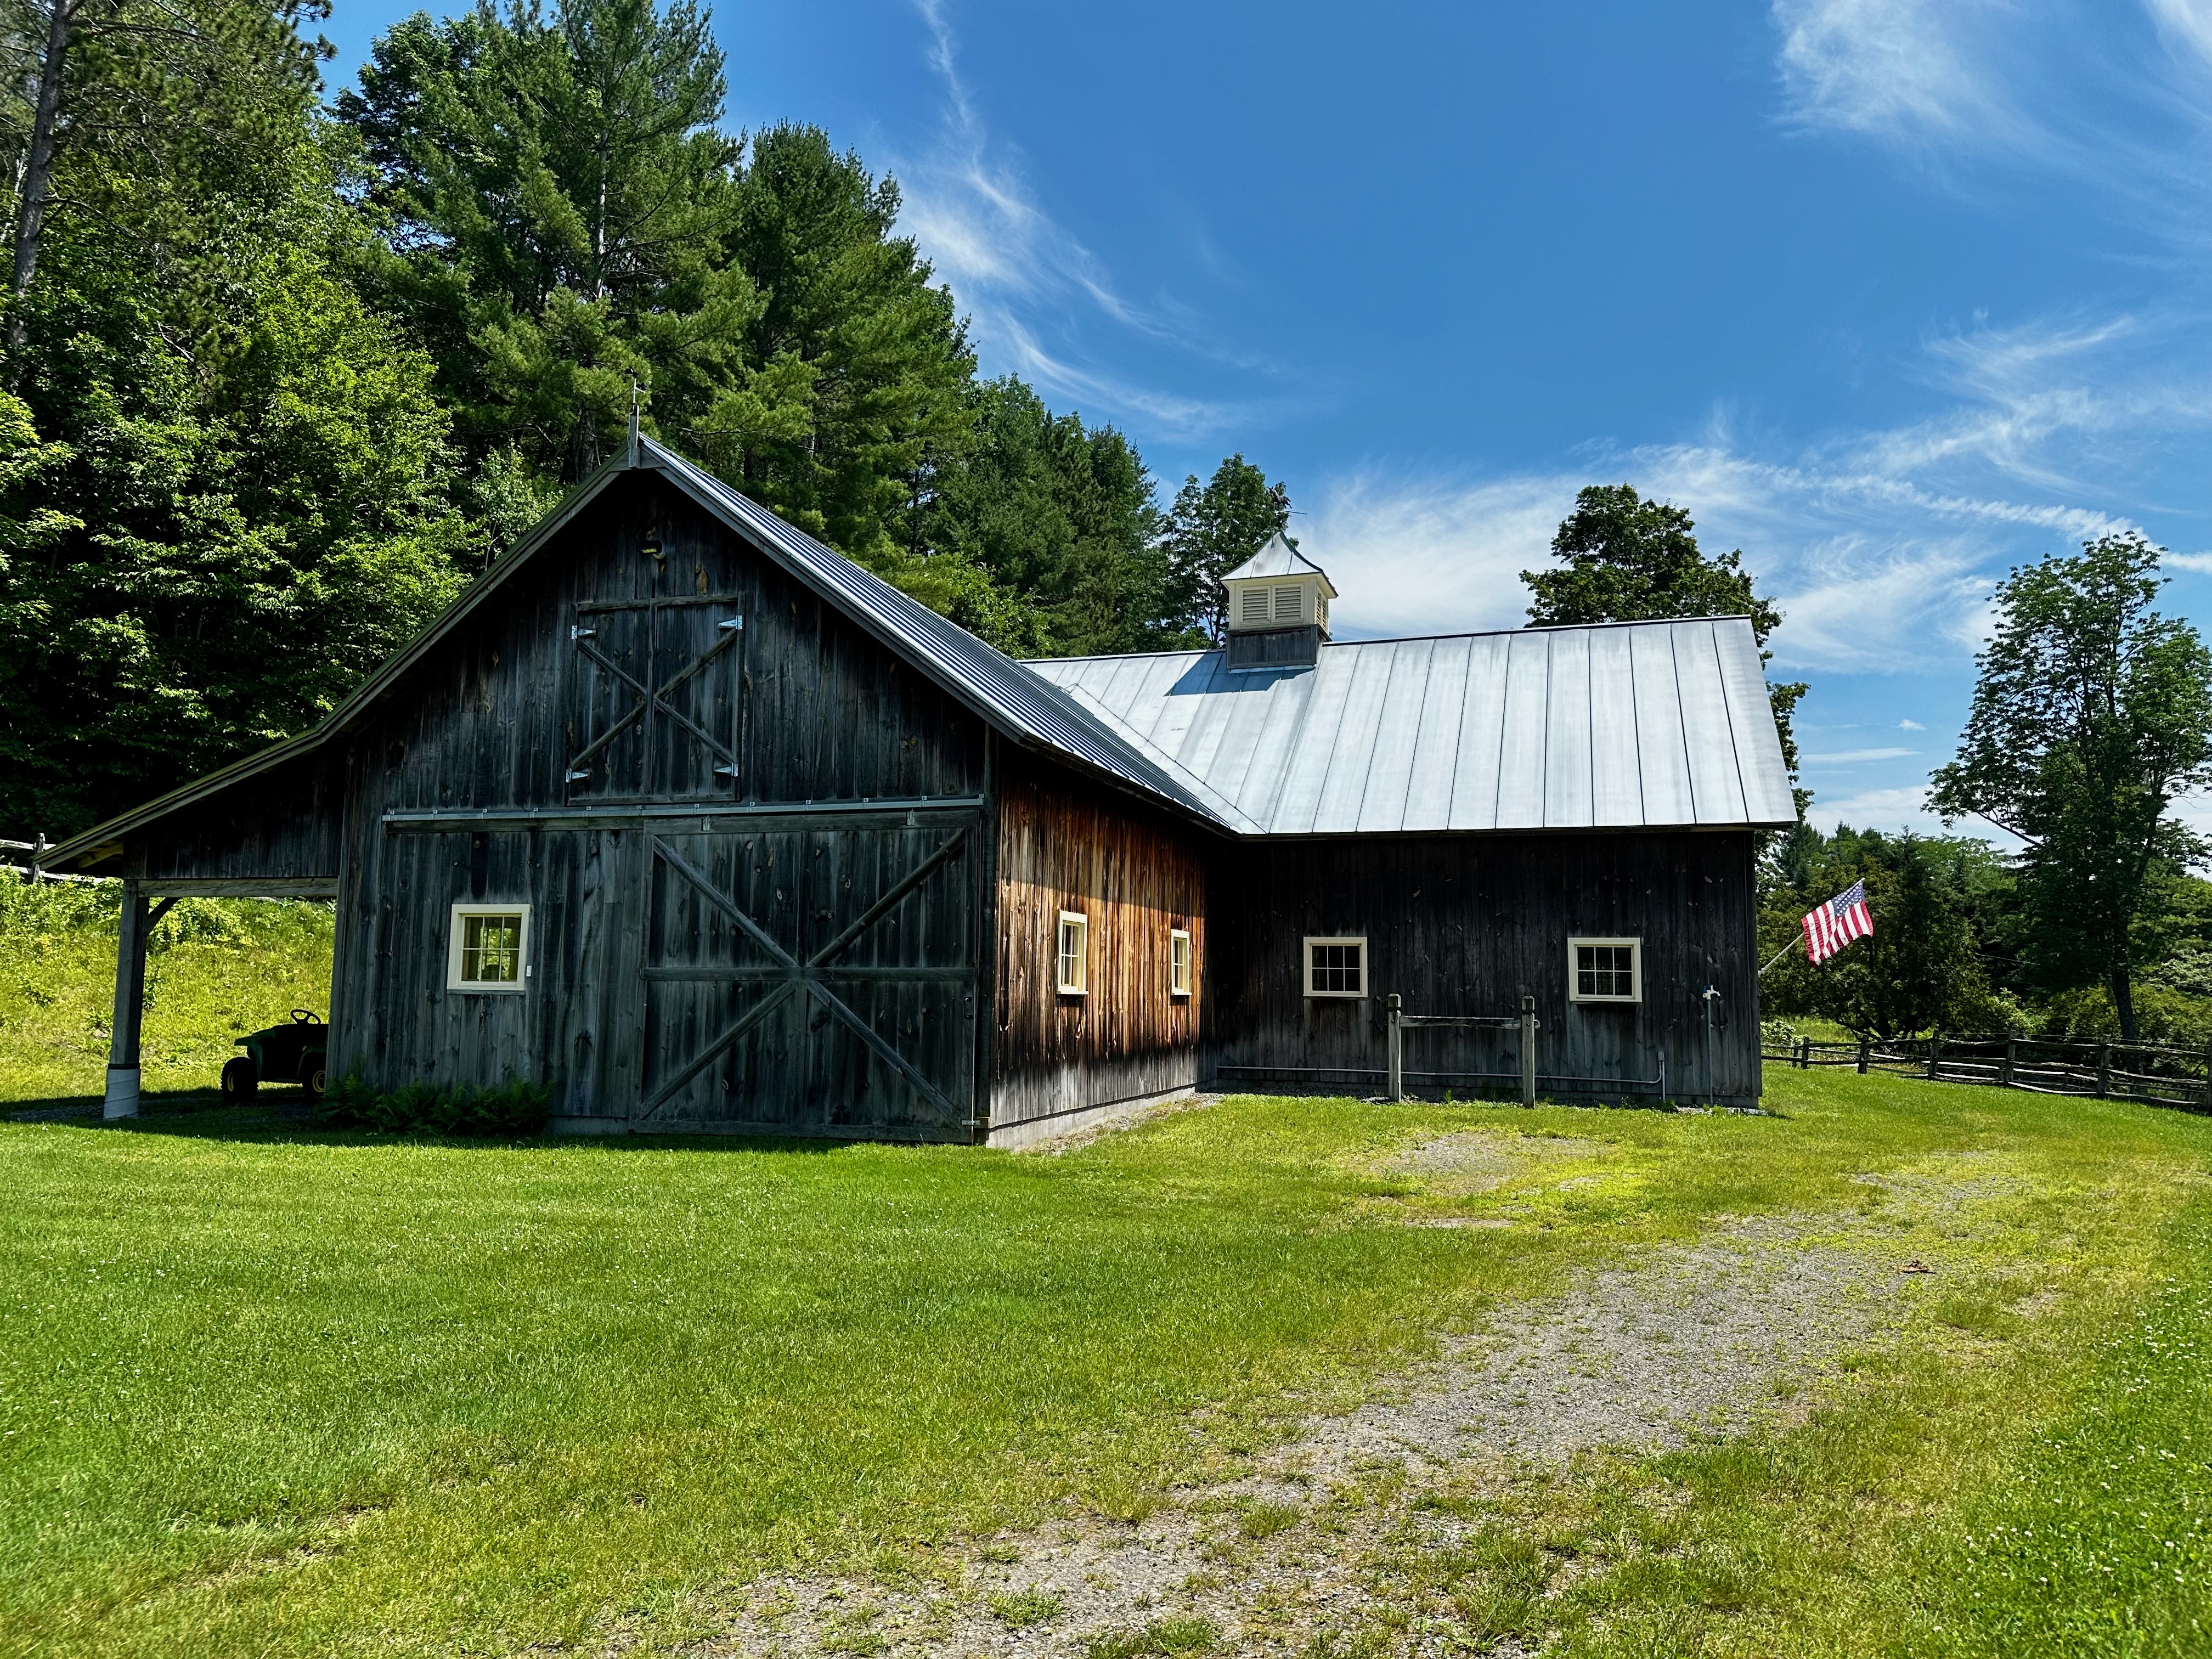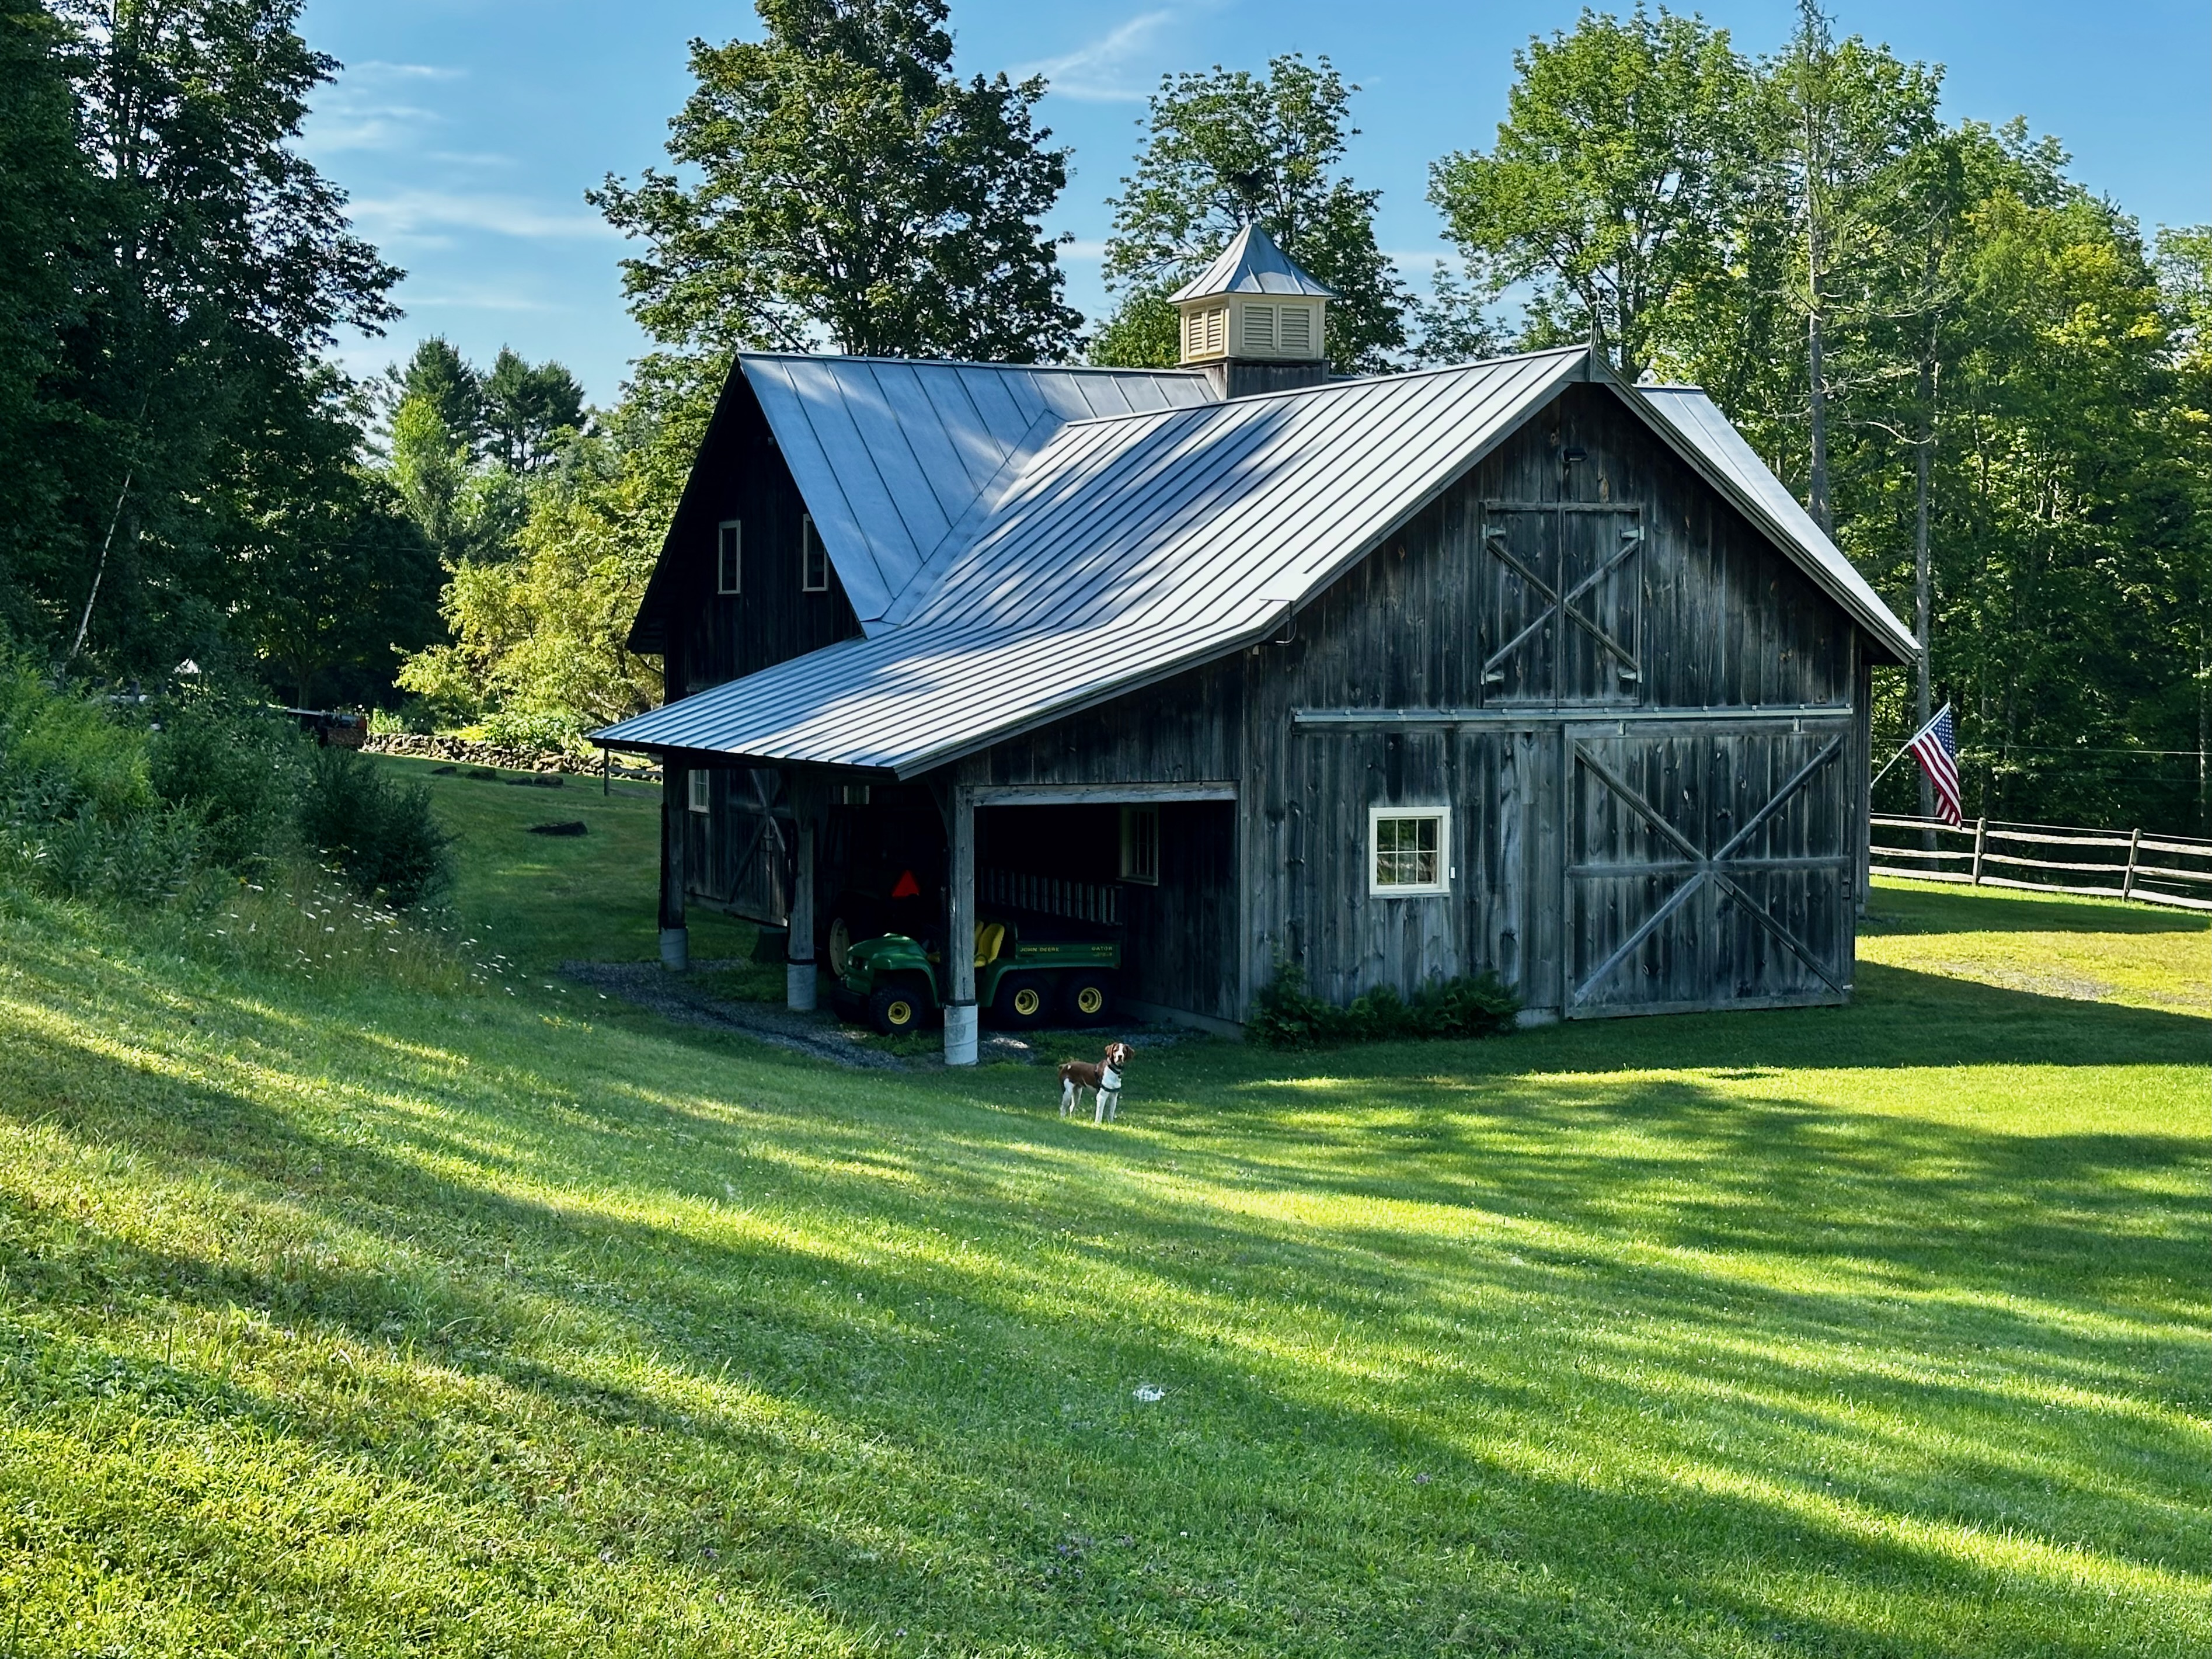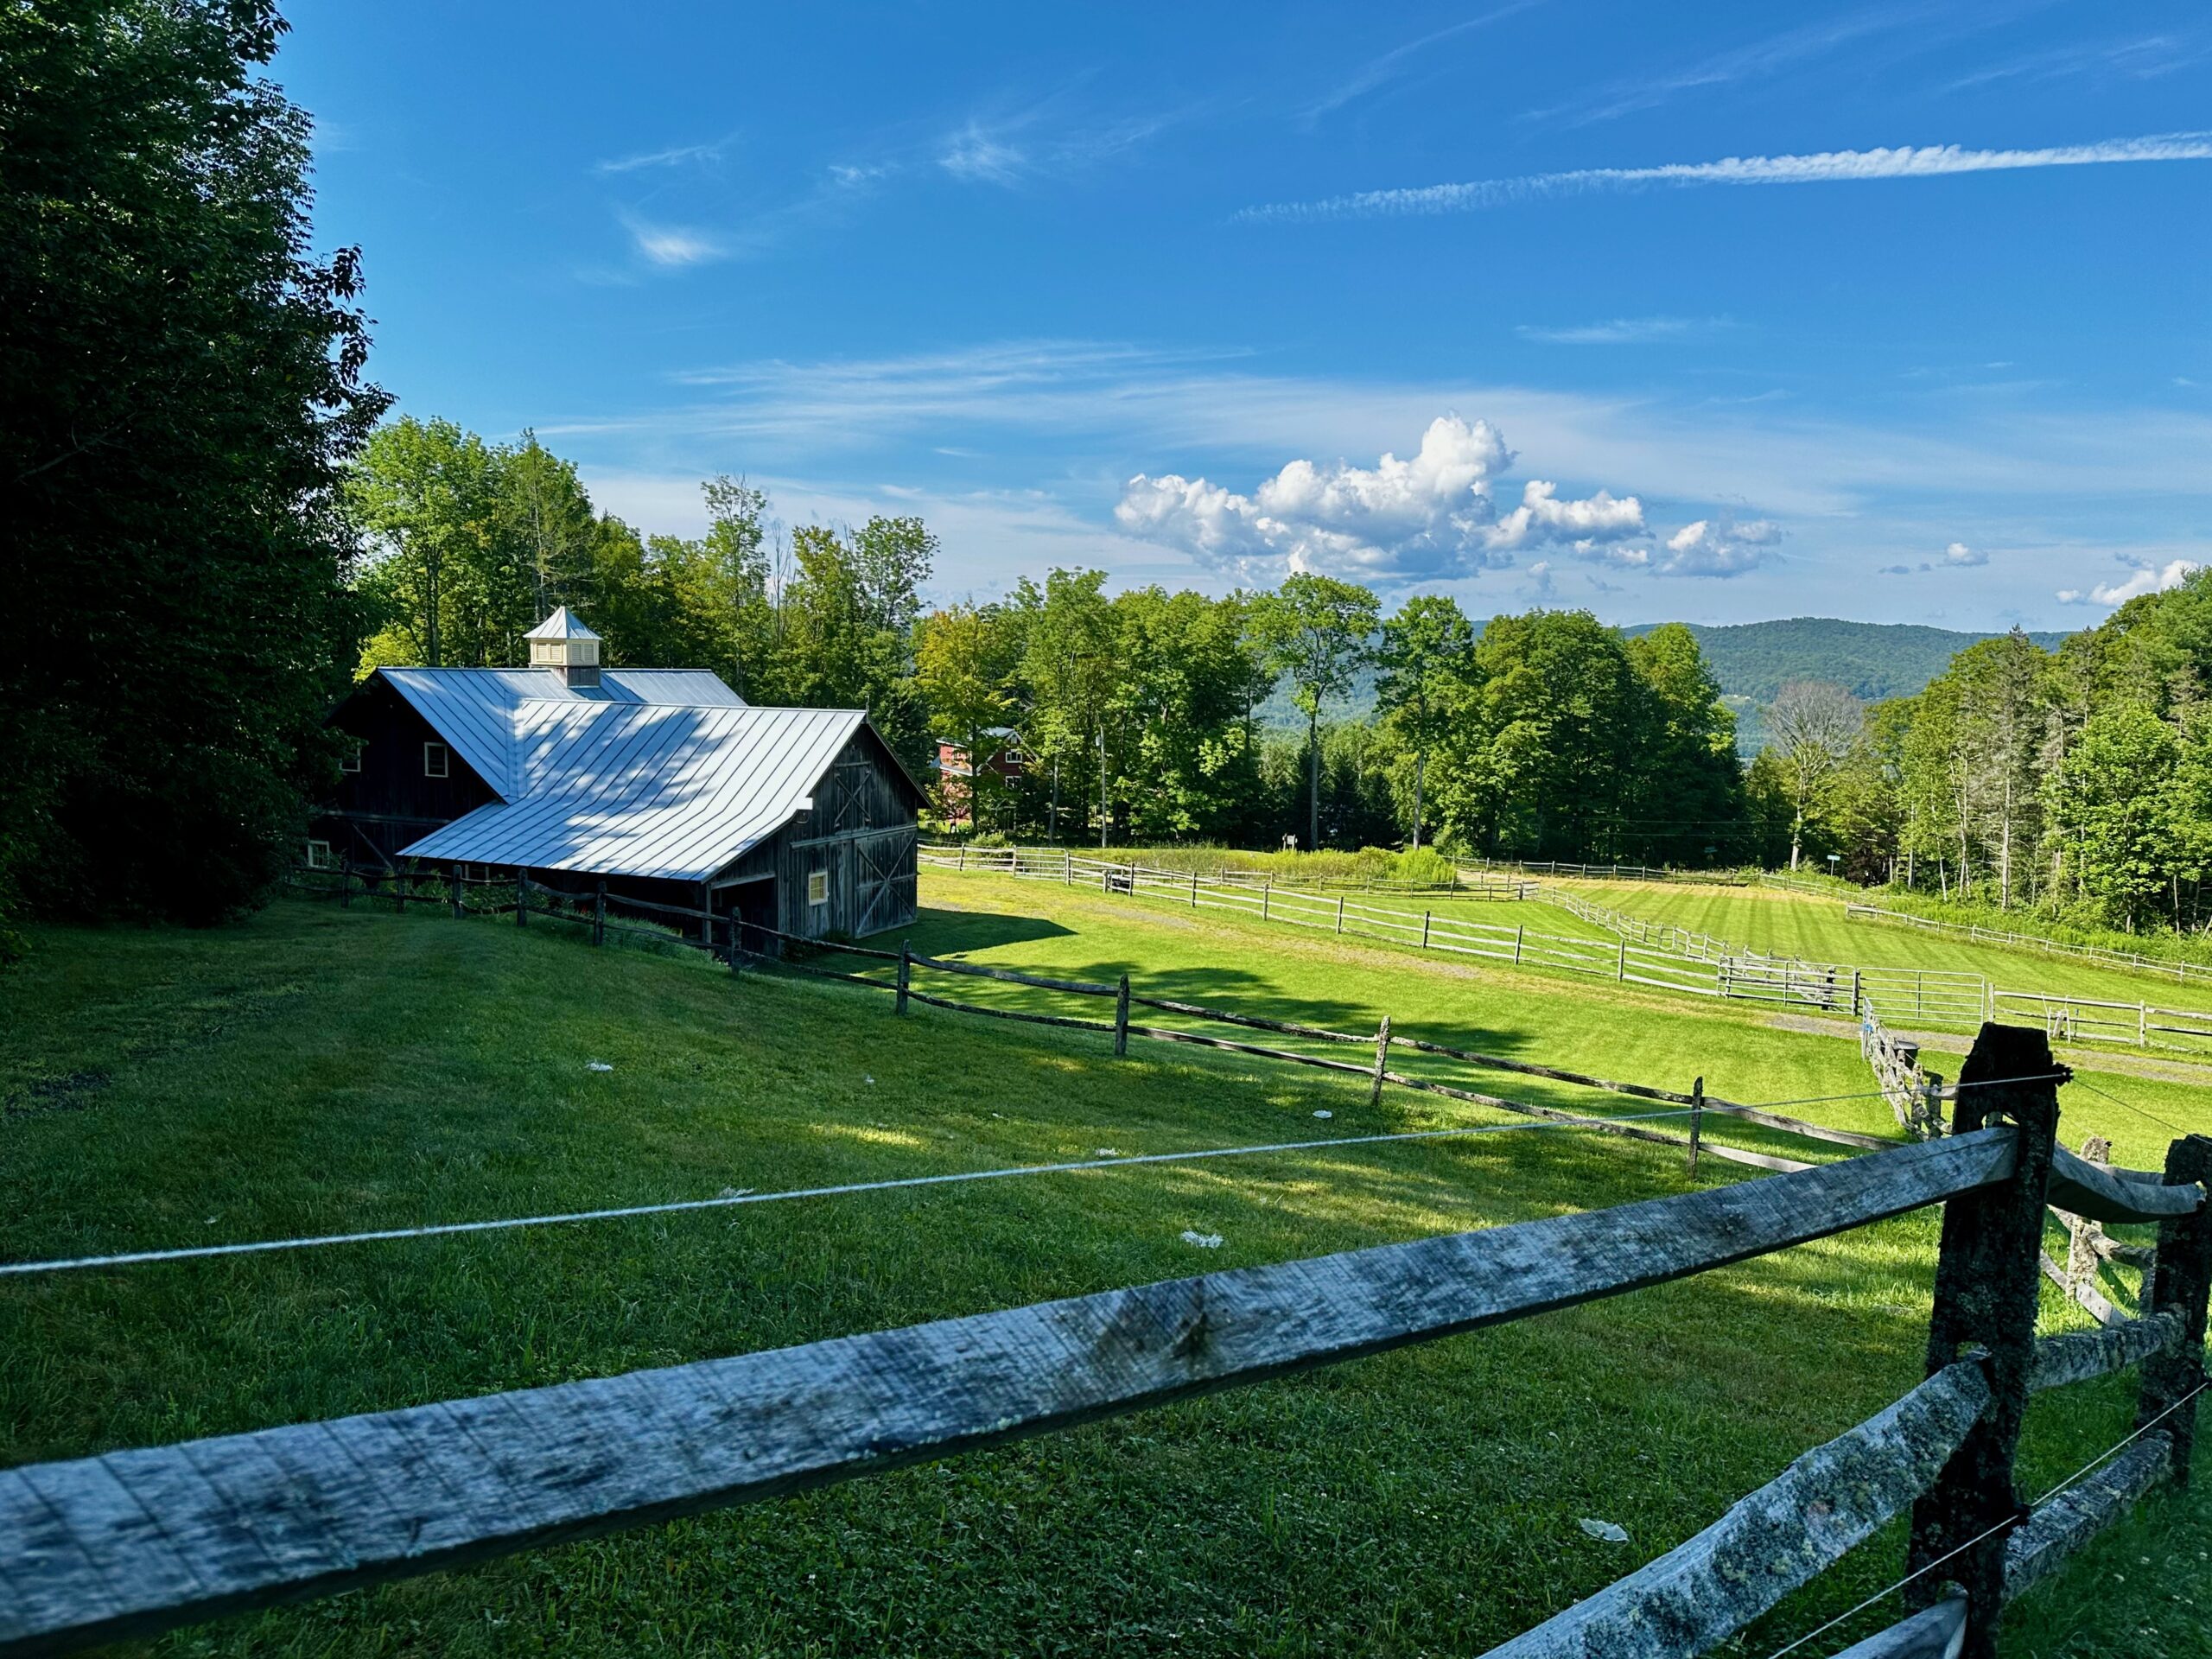
After 9 years living in Jackson Hole, we relocated back to New England about a year ago. We have been asked too many times to count, “why in the world would you give up your place in Jackson Hole, WY?” There are a number of reasons, but the most visible is what we moved to: Our new home is in the Upper Valley of VT in a rural area perched atop a hill and on a quiet road. We live in a restored 1860 farm house with a timber-frame barn, koi pond, and 100 acres of heavily forested land. Previous owners of this property had constructed a number of carriage roads/trails throughout the woods and it is really beautiful. Adjacent property owners have constructed their own trails with connection to ours; you can spend a lot of time wandering around back there in complete solitude. The diversity of wildlife and plant & tree species is spectacular.

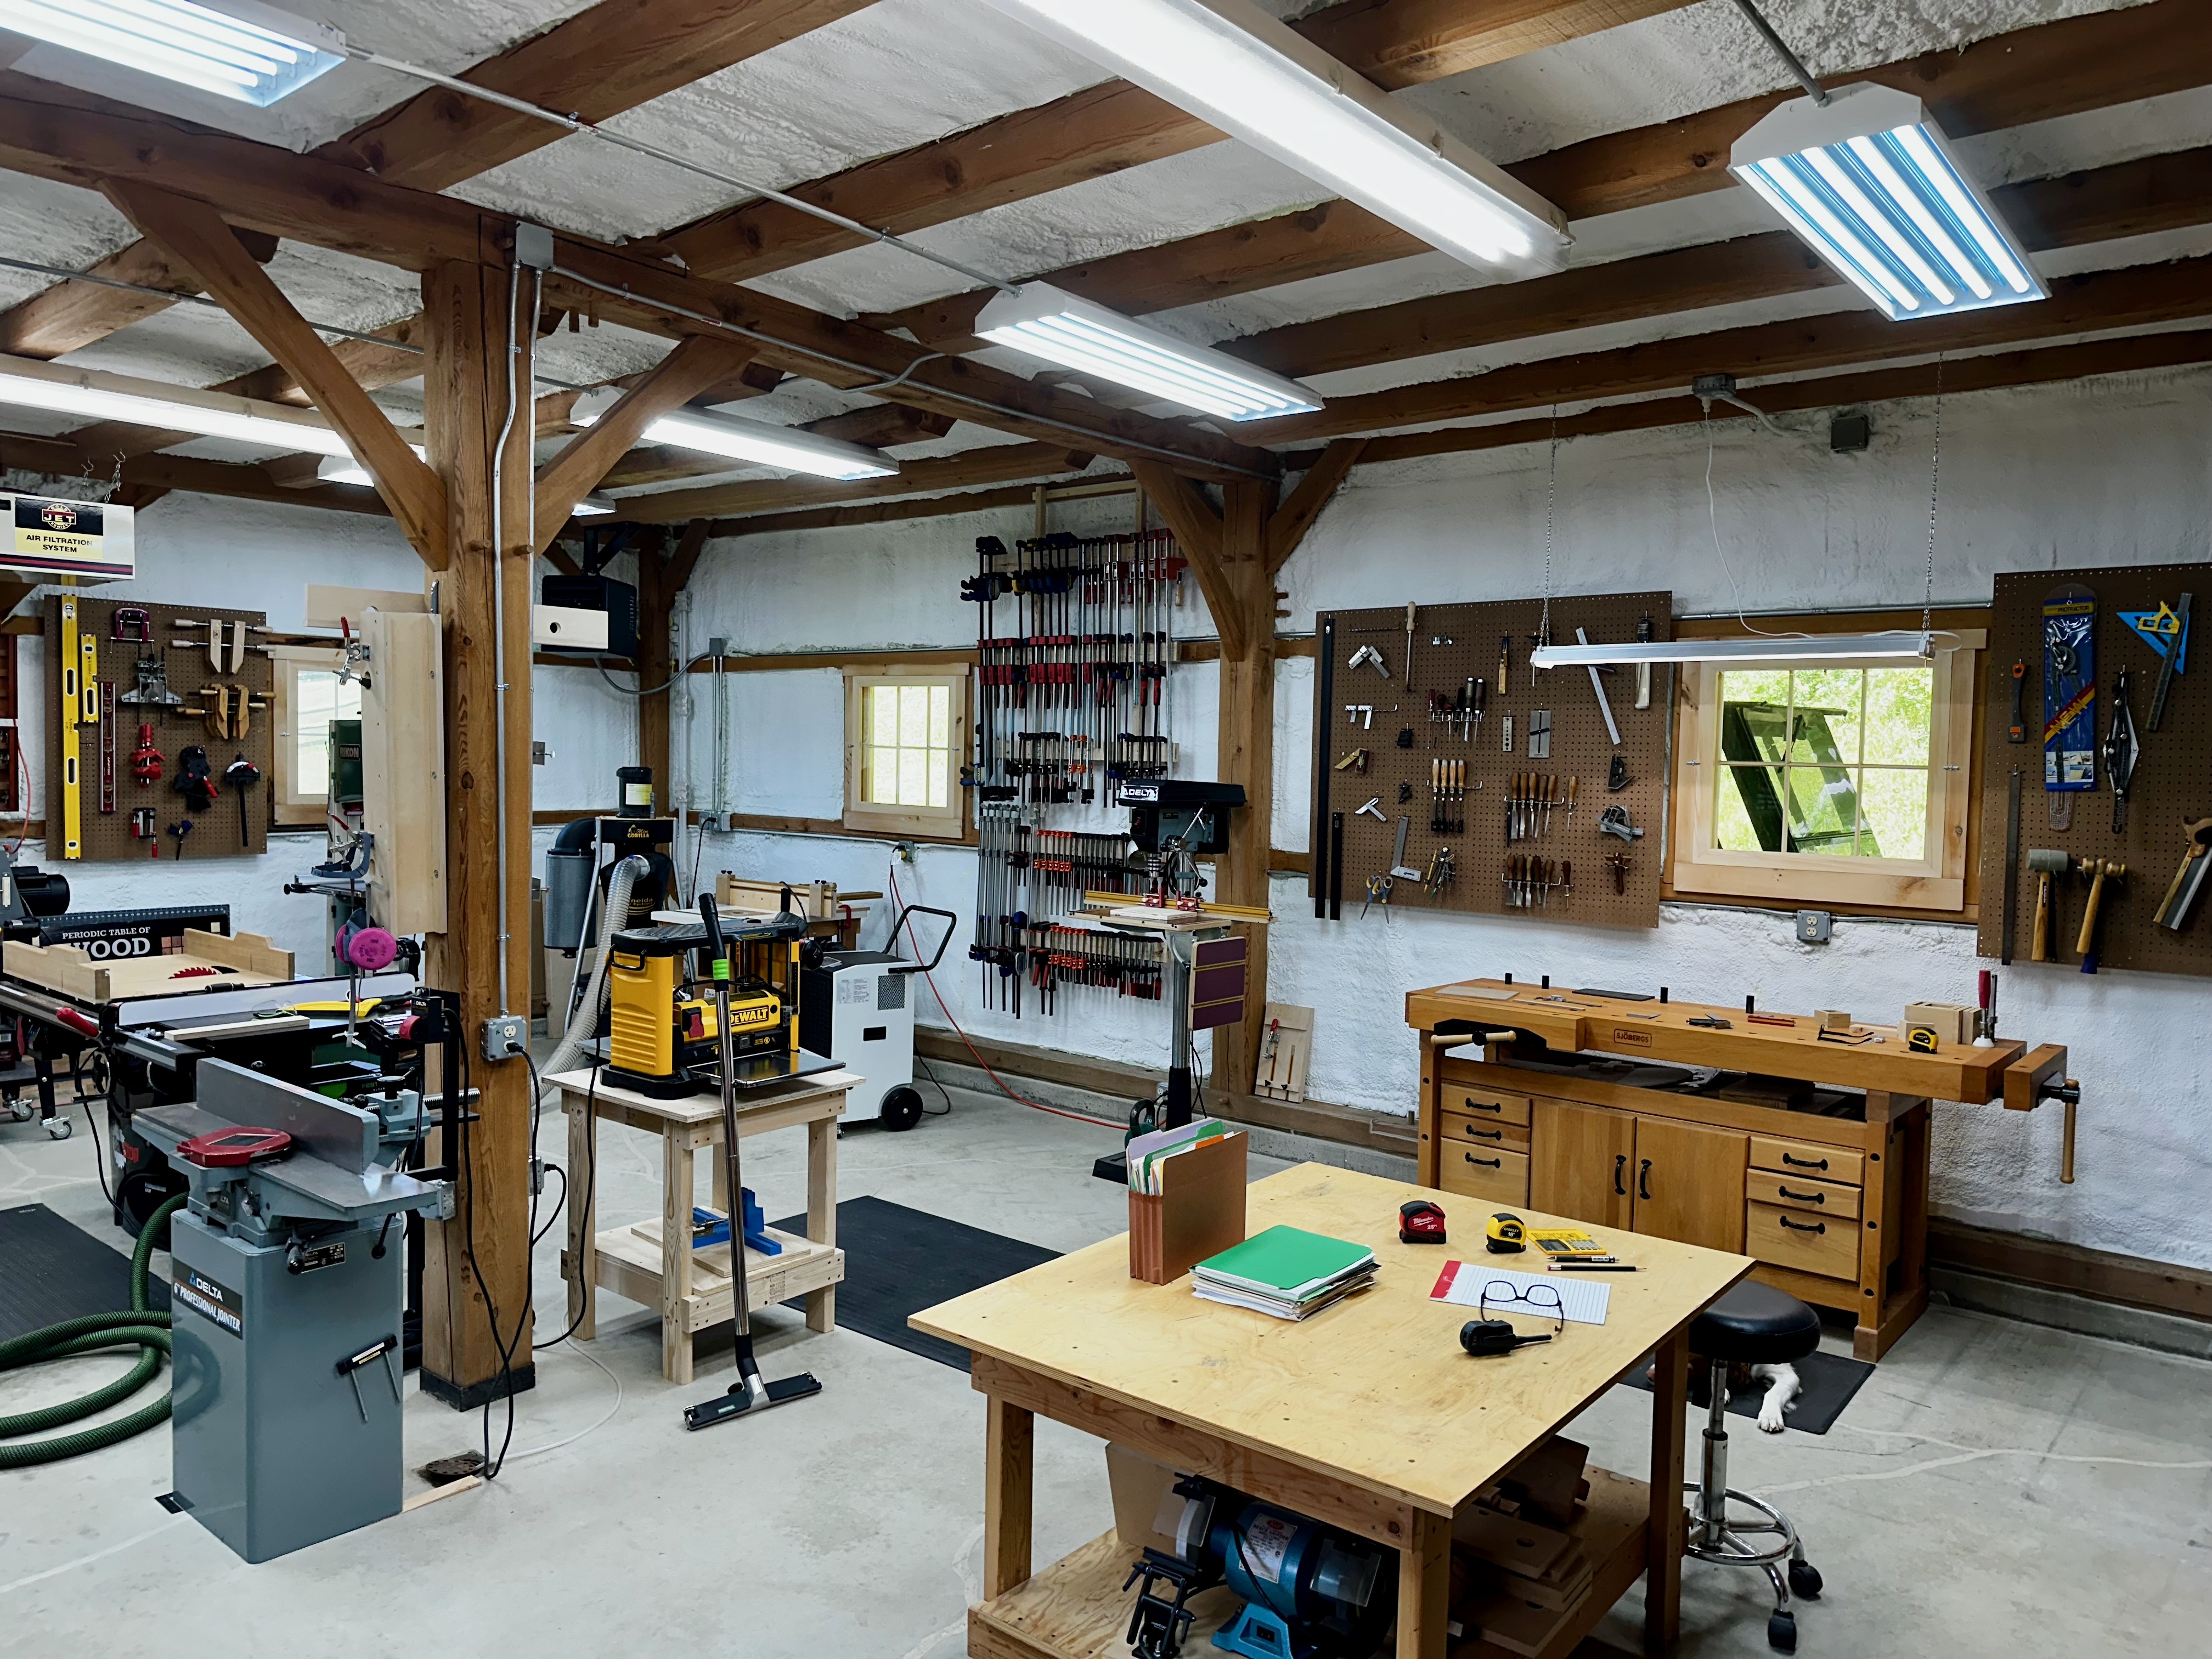
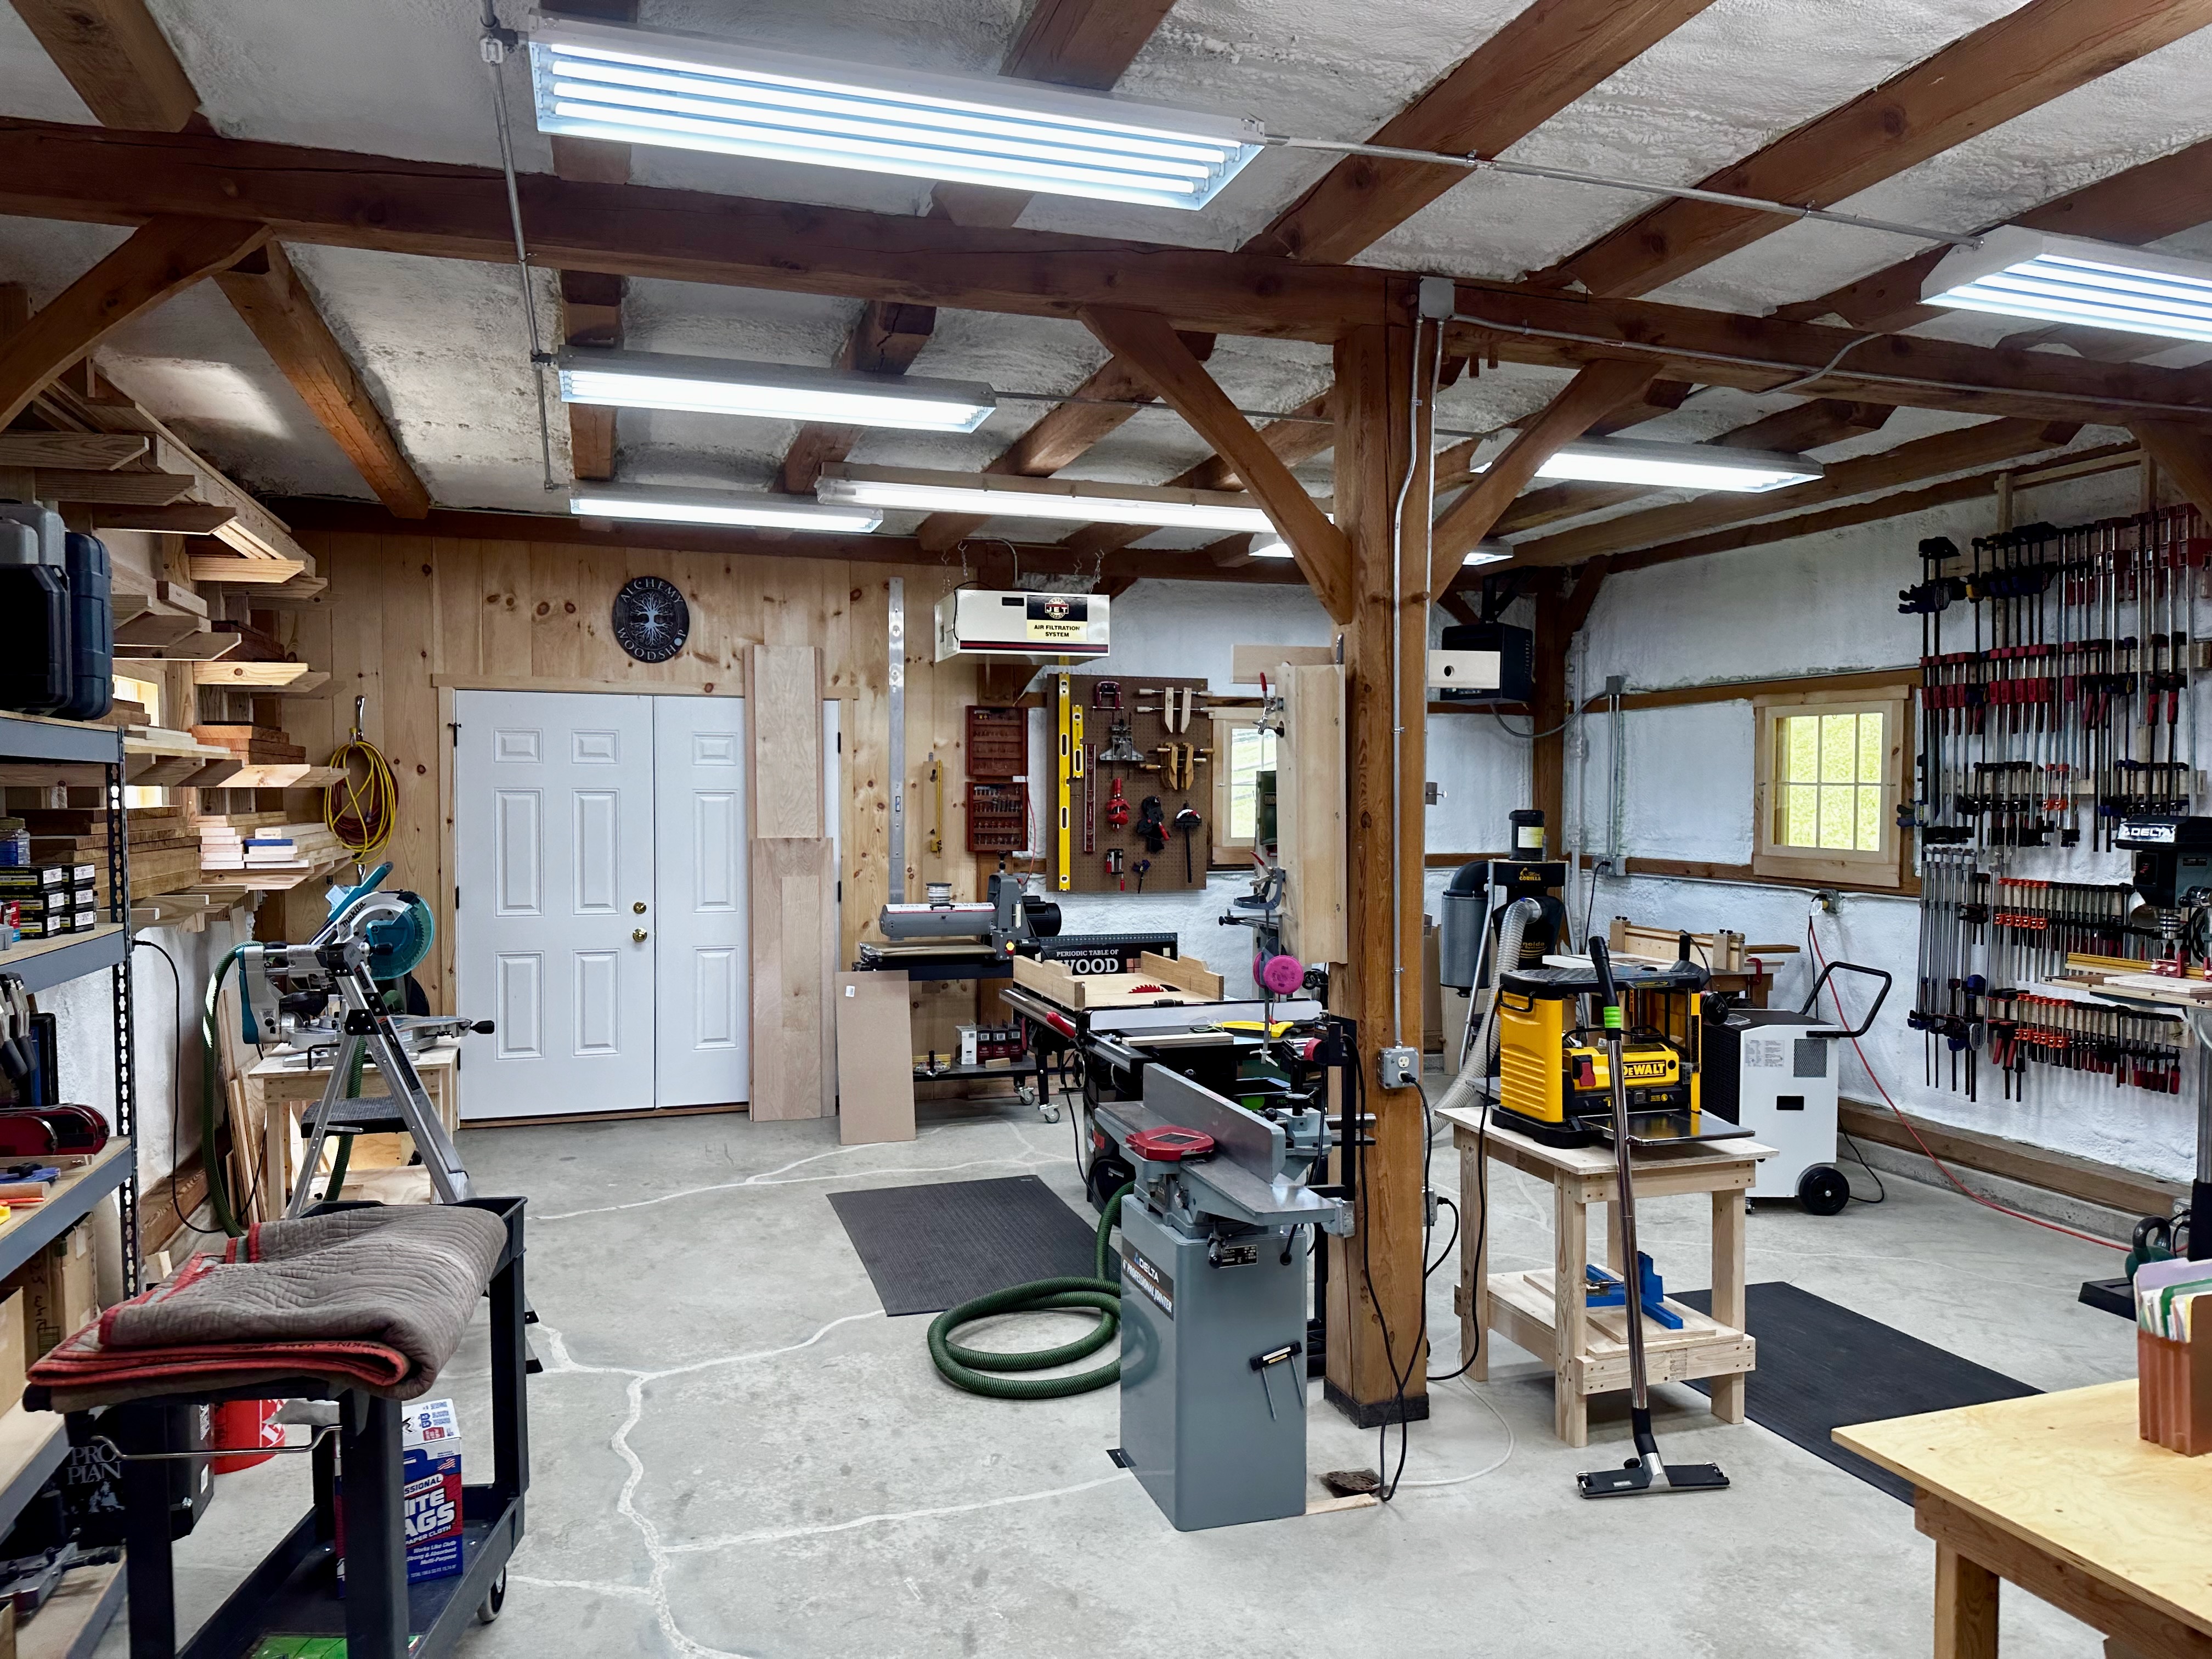
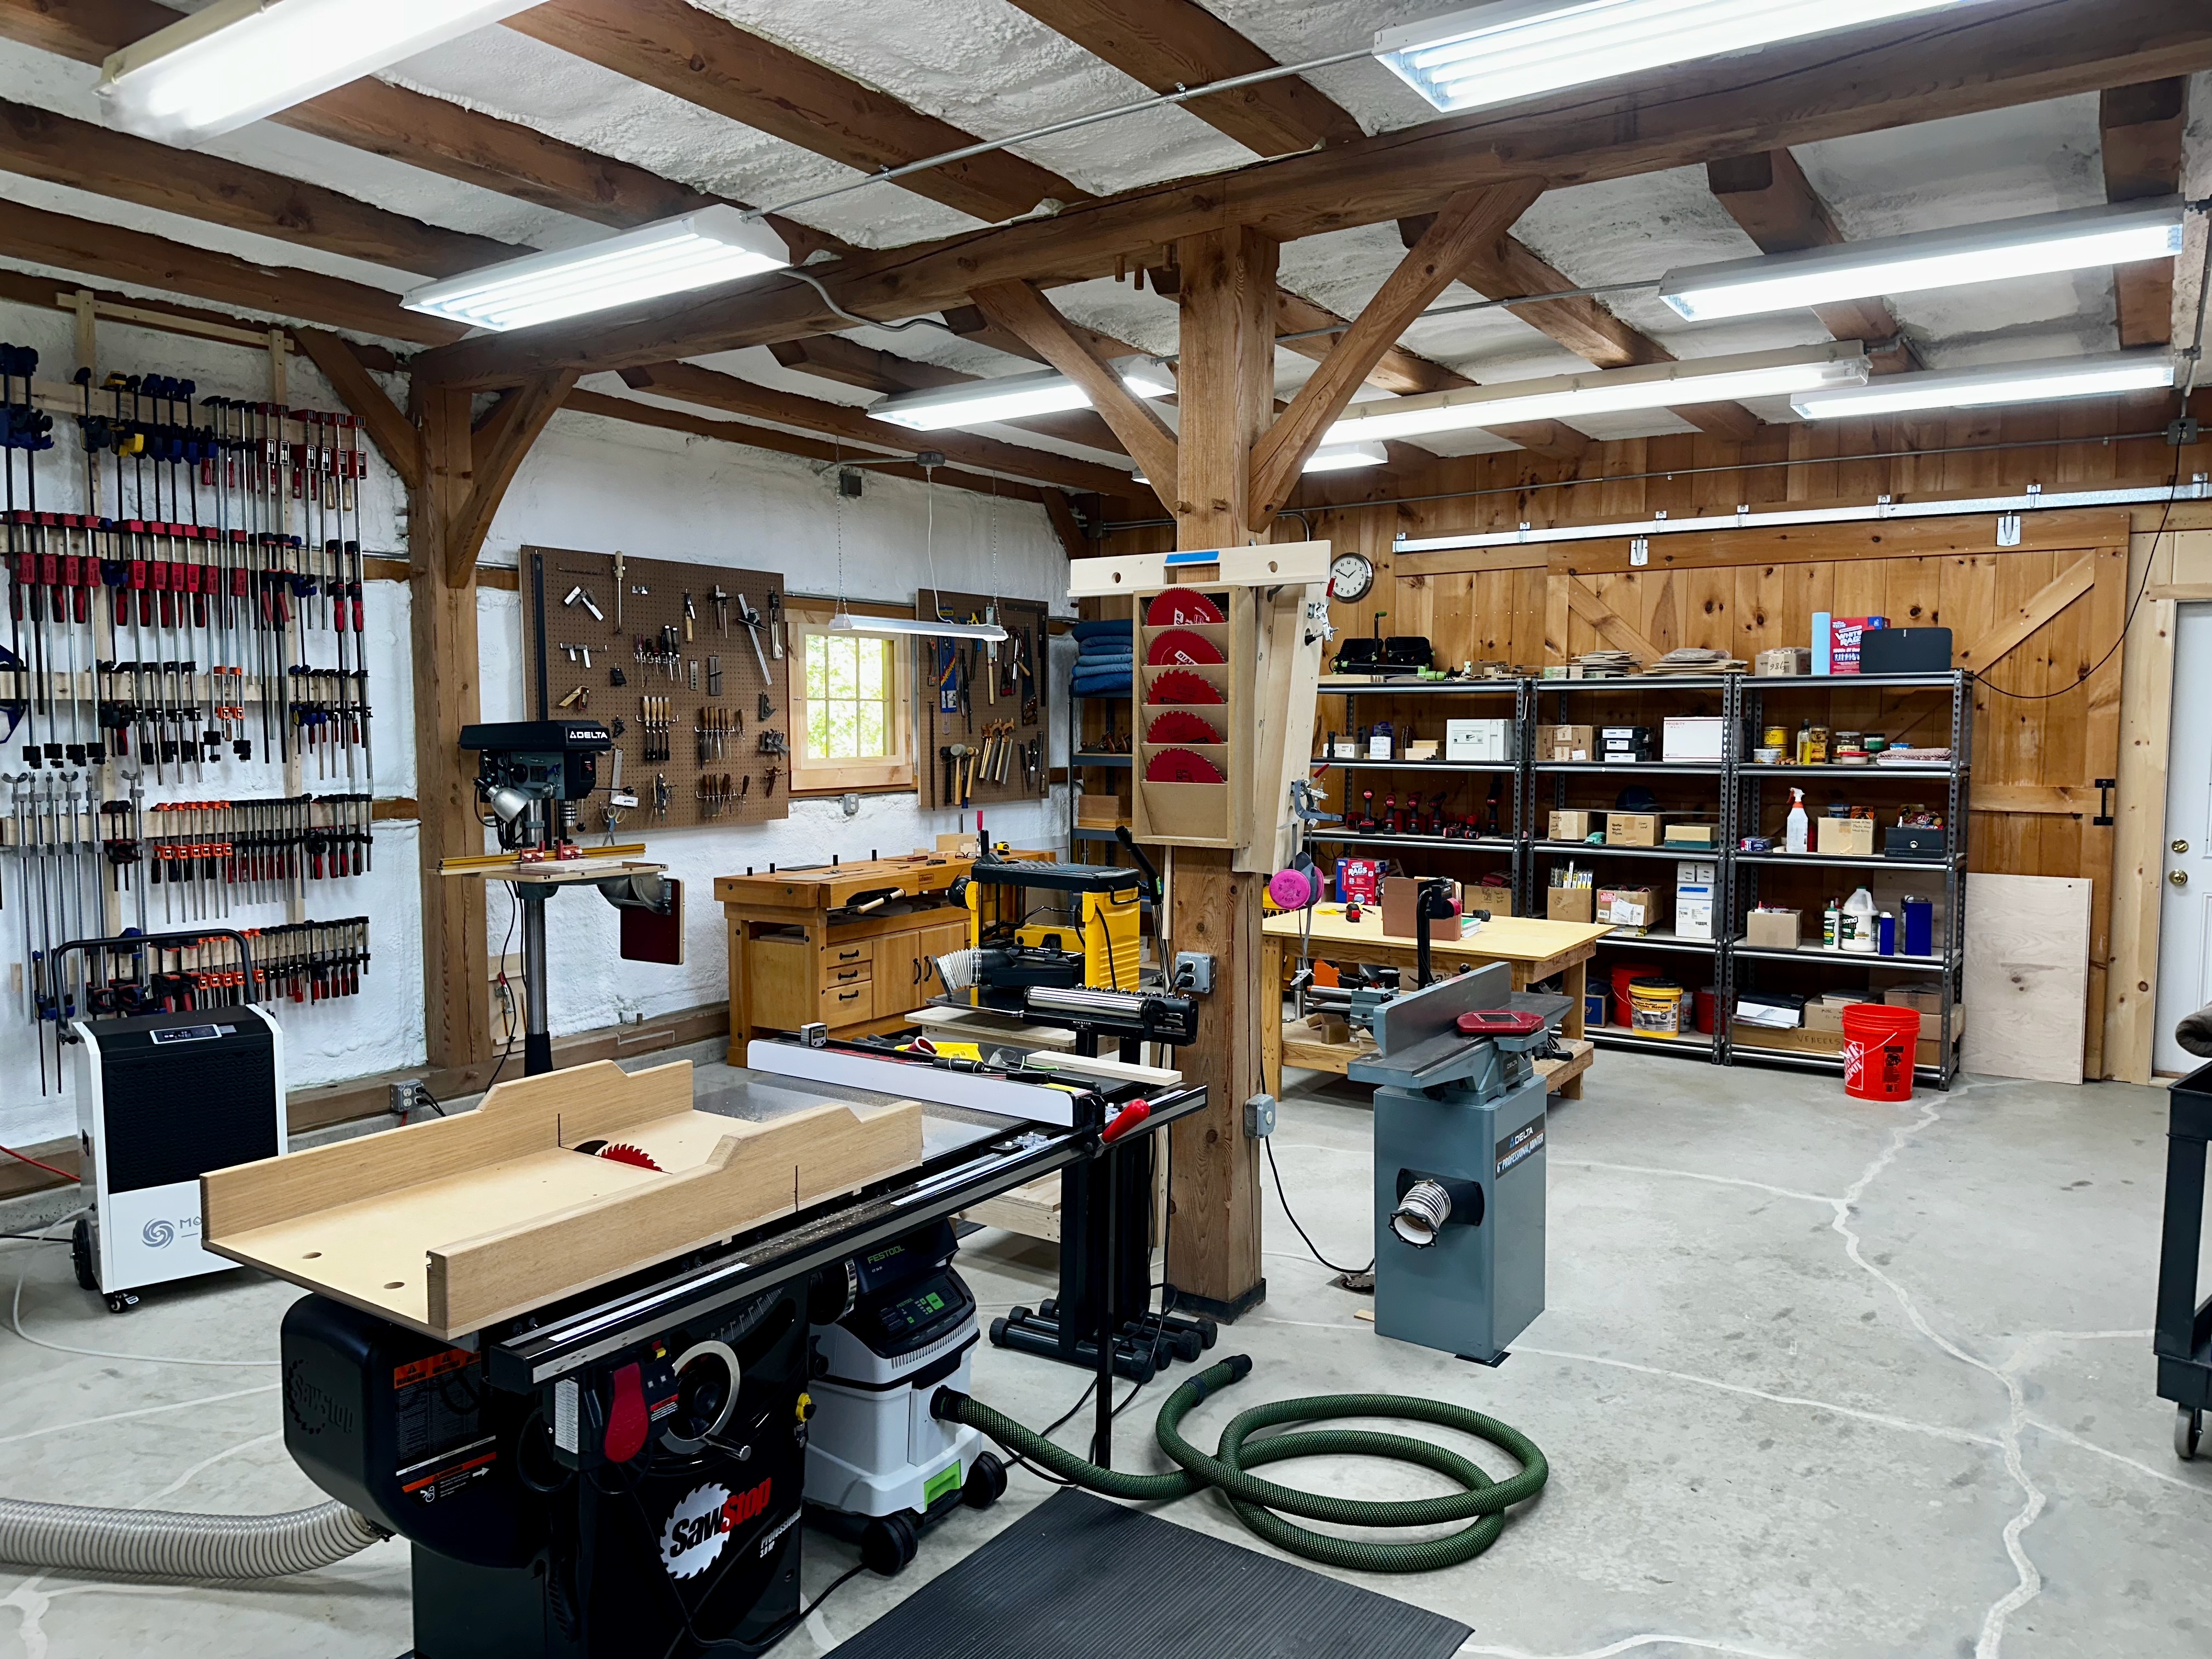
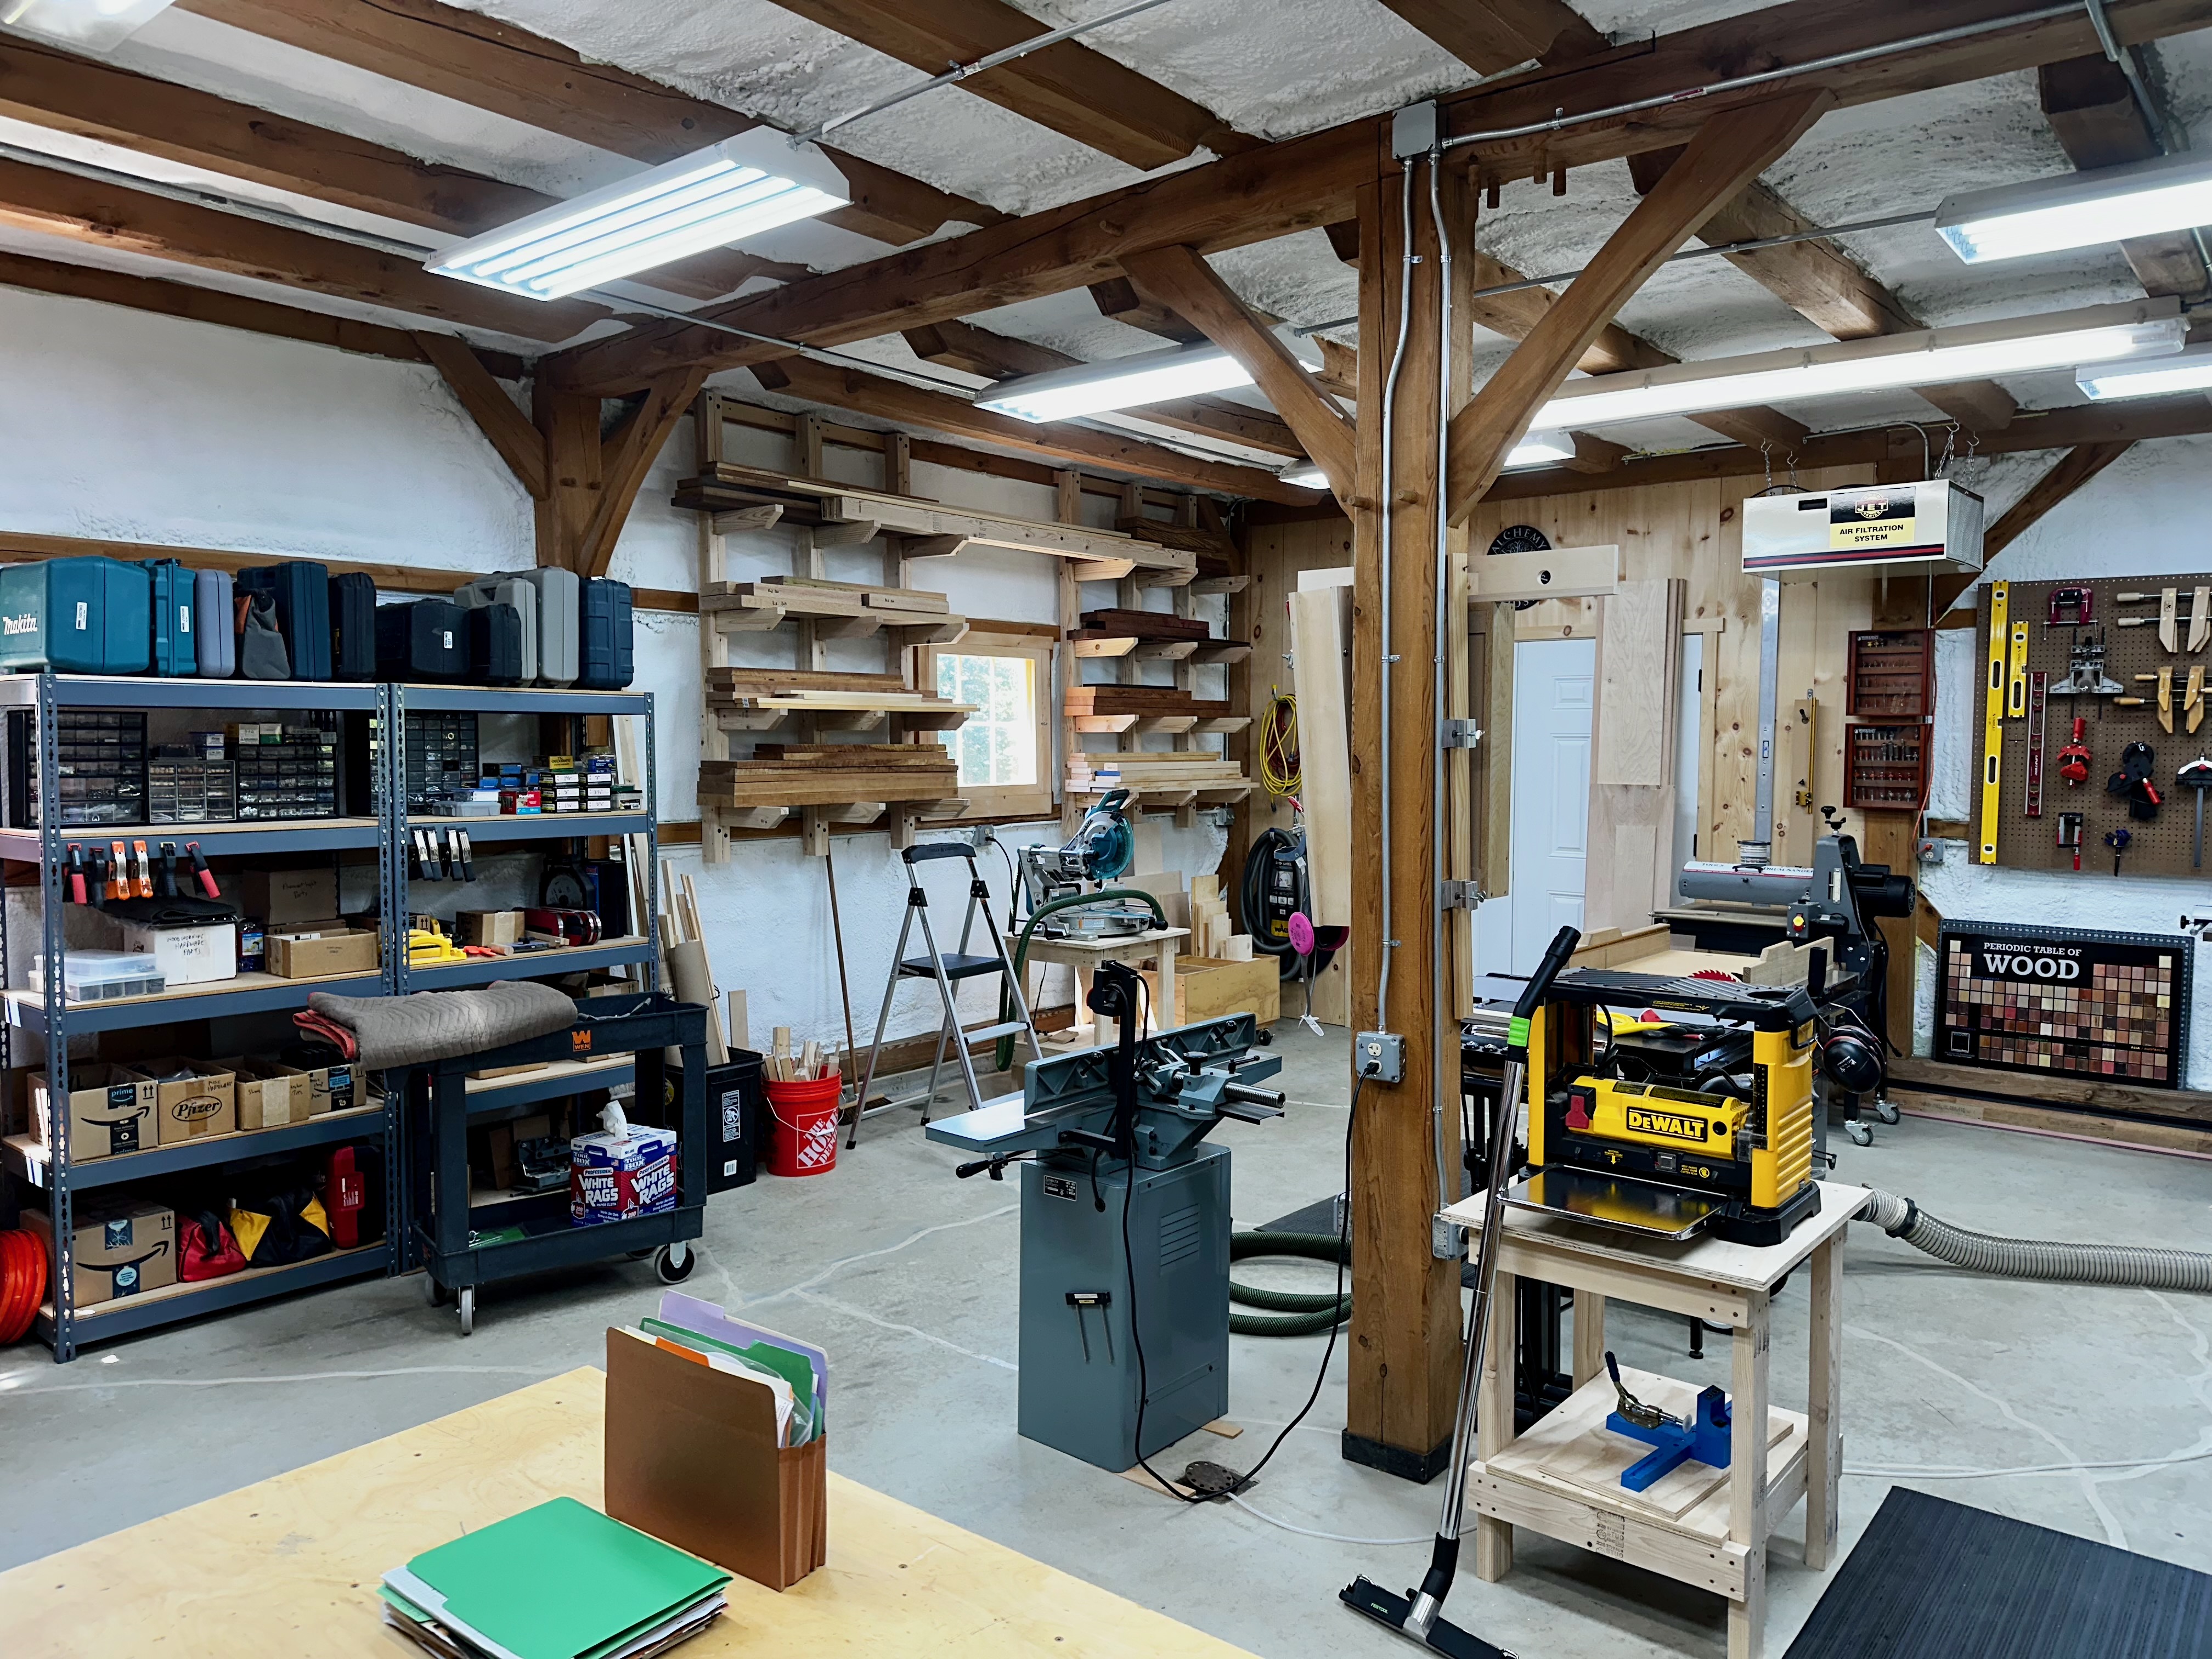
The barn has a carriage house that I’ve converted into my new workshop. This is the 4th workshop that I’ve had in my woodworking career and has required the most work to convert it to a suitable space. It is roughly 30′ x 24′ with 10′ ceiling. 720 sq ft is more than adequate; no more rolling tools in and out of place when needed!

I hired a local company with experience working in timber-framed barns to apply spray foam insulation. We wanted to preserve the look of the timber-framing as much as possible so this required a significant effort to protect all exposed surfaces with tape & drop cloths. Closed-cell foam was sprayed onto the ceiling to a depth of 4″ (R30) and the walls received 2″ (R14). The exposed foam was sprayed with a white fire-proof paint that also helps improve the lighting significantly.
The carriage house has two 10′ x 10′ sliding doors and I hired a local carpenter to install a door wall into each of these openings. This was a significant amount of work and took approximately one month start to finish to create these door walls. The look of the barn’s exterior is maintained while providing the final step in sealing the space.


Additional lighting and a heater were the next elements to be addressed. For the lighting, I need a very bright space and decided to install eight 4′ LED light fixtures with a bright 6500 K color temperature while also converting the existing 8′ fluorescent lights to LED. For the heater, I was constrained a bit by the barn’s 100-amp service panel. My initial preference was a 10 kW heater but that requires a 60 amp circuit and I was concerned about potential breaker tripping, so I ultimately settled on a 7.5 kW heater running on a 40 amp circuit and it worked just fine throughout the first winter.
I hired an electrician after I installed the light fixtures and heater to wire these to the service panel as well as to add additional 120V and 240V outlets. Although I’ve added circuits to service panels in my previous workshops, I decided against doing it myself due to the large number of additional circuits being added as well as not having any experience working with metal conduit.

What’s a woodworking shop without lumber storage? I considered a number of design options and finally decided simply to laminate two 2×4’s with 2×4 mortised shelf supports (arms). I glued and screwed these together and attached them to the 4×4 timber posts with 6″ TimberLok fasteners. This is probably over-engineered, but better safe than sorry.
After all of this work, I moved my equipment and supplies back into place after deciding on an efficient workflow. Additional work included adding spray foam insulation around the five windows which required removing and replacing all of the window trim. The windows are only single pane glass so I asked the carpenter to make plexiglass inserts in order to emulate the function of double-pane windows. And finally I sealed all of the cracks in the concrete floor to help reduce moisture and potential radon intrusion.
This is a great workshop and I’ve finally started work on a few “genuine” woodworking projects! Keep scrolling down for more for more shop pictures.